Texture makes your energy systems visible, responsive, and connected—without rebuilding your stack. It works with your existing infrastructure—no migration, no disruptions. Start with a single integration or use case, and expand as you go.
#!/usr/bin/env nodeconst textureApiUrl = "https://api.texturehq.com";const apiKey = process.env.TEXTURE_API_KEY || "<your-api-key-goes-here>";console.log(`Using API key: ${apiKey}`);// Node v18 has fetch built infetch("https://api.texturehq.com/v1/connections", { method: "POST", headers: { "Content-Type": "application/json", "Texture-Api-Key": apiKey, }, body: JSON.stringify({ referenceId: "9bb290c8-fe97-46ce-92a8-952823164277", redirectUrl: "http://localhost:8000", tags: ["tag1", "tag2"], clientName: "Energy Demo", customerInfo: { email: "example@example.com", phone: "555-555-0100", firstName: "John", lastName: "Doe", }, }),}) .then((response) => { if (response.ok) { return response.json(); } throw new Error( `Failed to make request: ${response.status}, ${response.statusText}` ); }) .then((responseJSON) => { console.log(responseJSON); }) .catch((error) => { console.error("Failed to make request", error); });
import requests# URL to POST tourl = "https://api.texturehq.com/v1/connections"# The header to include with the requestheaders = { "Texture-Api-Key": "<your-api-key-goes-here>", "Content-Type": "application/json",}# JSON body datadata = { "referenceId": "9bb290c8-fe97-46ce-92a8-952823164277", "redirectUrl": "http://localhost:8000", "tags": ["tag1", "tag2"], "clientName": "Energy Demo", "customerInfo": { "email": "example@example.com", "phone": "555-555-0100", "firstName": "John", "lastName": "Doe", },}# Make the POST requestresponse = requests.post(url, headers=headers, json=data)# Check the responseif response.status_code == 200: print("Successfully sent POST request.") print("Response:", response.json())else: print(f"Failed to send POST request. Status code: {response.status_code}") print("Response:", response.text)
Install using npm:
$ npm install @texturehq/connect-sdk
Or, install using yarn:
$ yarn add @texturehq/connect-sdk
Create a button to generate a setup link:
const texture = createConnectSession({ connectApiKey: "<your-api-key-goes-here>", connectOptions: { referenceId: "9bb290c8-fe97-46ce-92a8-952823164277", clientName: "Name for your application", redirectUrl: "http://localhost:8000", tags: ["tag1", "tag2"], manufacturerFilters: { manufacturers: ['honeywell', 'daikin'] }, customerInfo: { email: "example@example.com", phone: "555-555-0100", firstName: "John", lastName: "Doe", }, }, onSuccess: ({ scopedKey }) => { // The scopedKey returned is a string that can be used to make requests to Texture API // to retrieve data related to the newly connected account }, onError: ({ type, reason }) => { // The error object contains a type and reason // type is identifier for the type of error that occurred // reason is a string that provides more information about the error // type 'popup-blocked' means that the popup window was blocked from opening // type 'popup-closed' means that the popup window was closed before the connection was established },});document.querySelector("#app").innerHTML = ` <div> <button id="texture-connect" type="button">Connect device(s) with Texture</button> </div>`;const textureConnectButton = document.querySelector("#texture-connect");textureConnectButton.addEventListener("click", () => texture.open({ width: 600, height: 800, }));
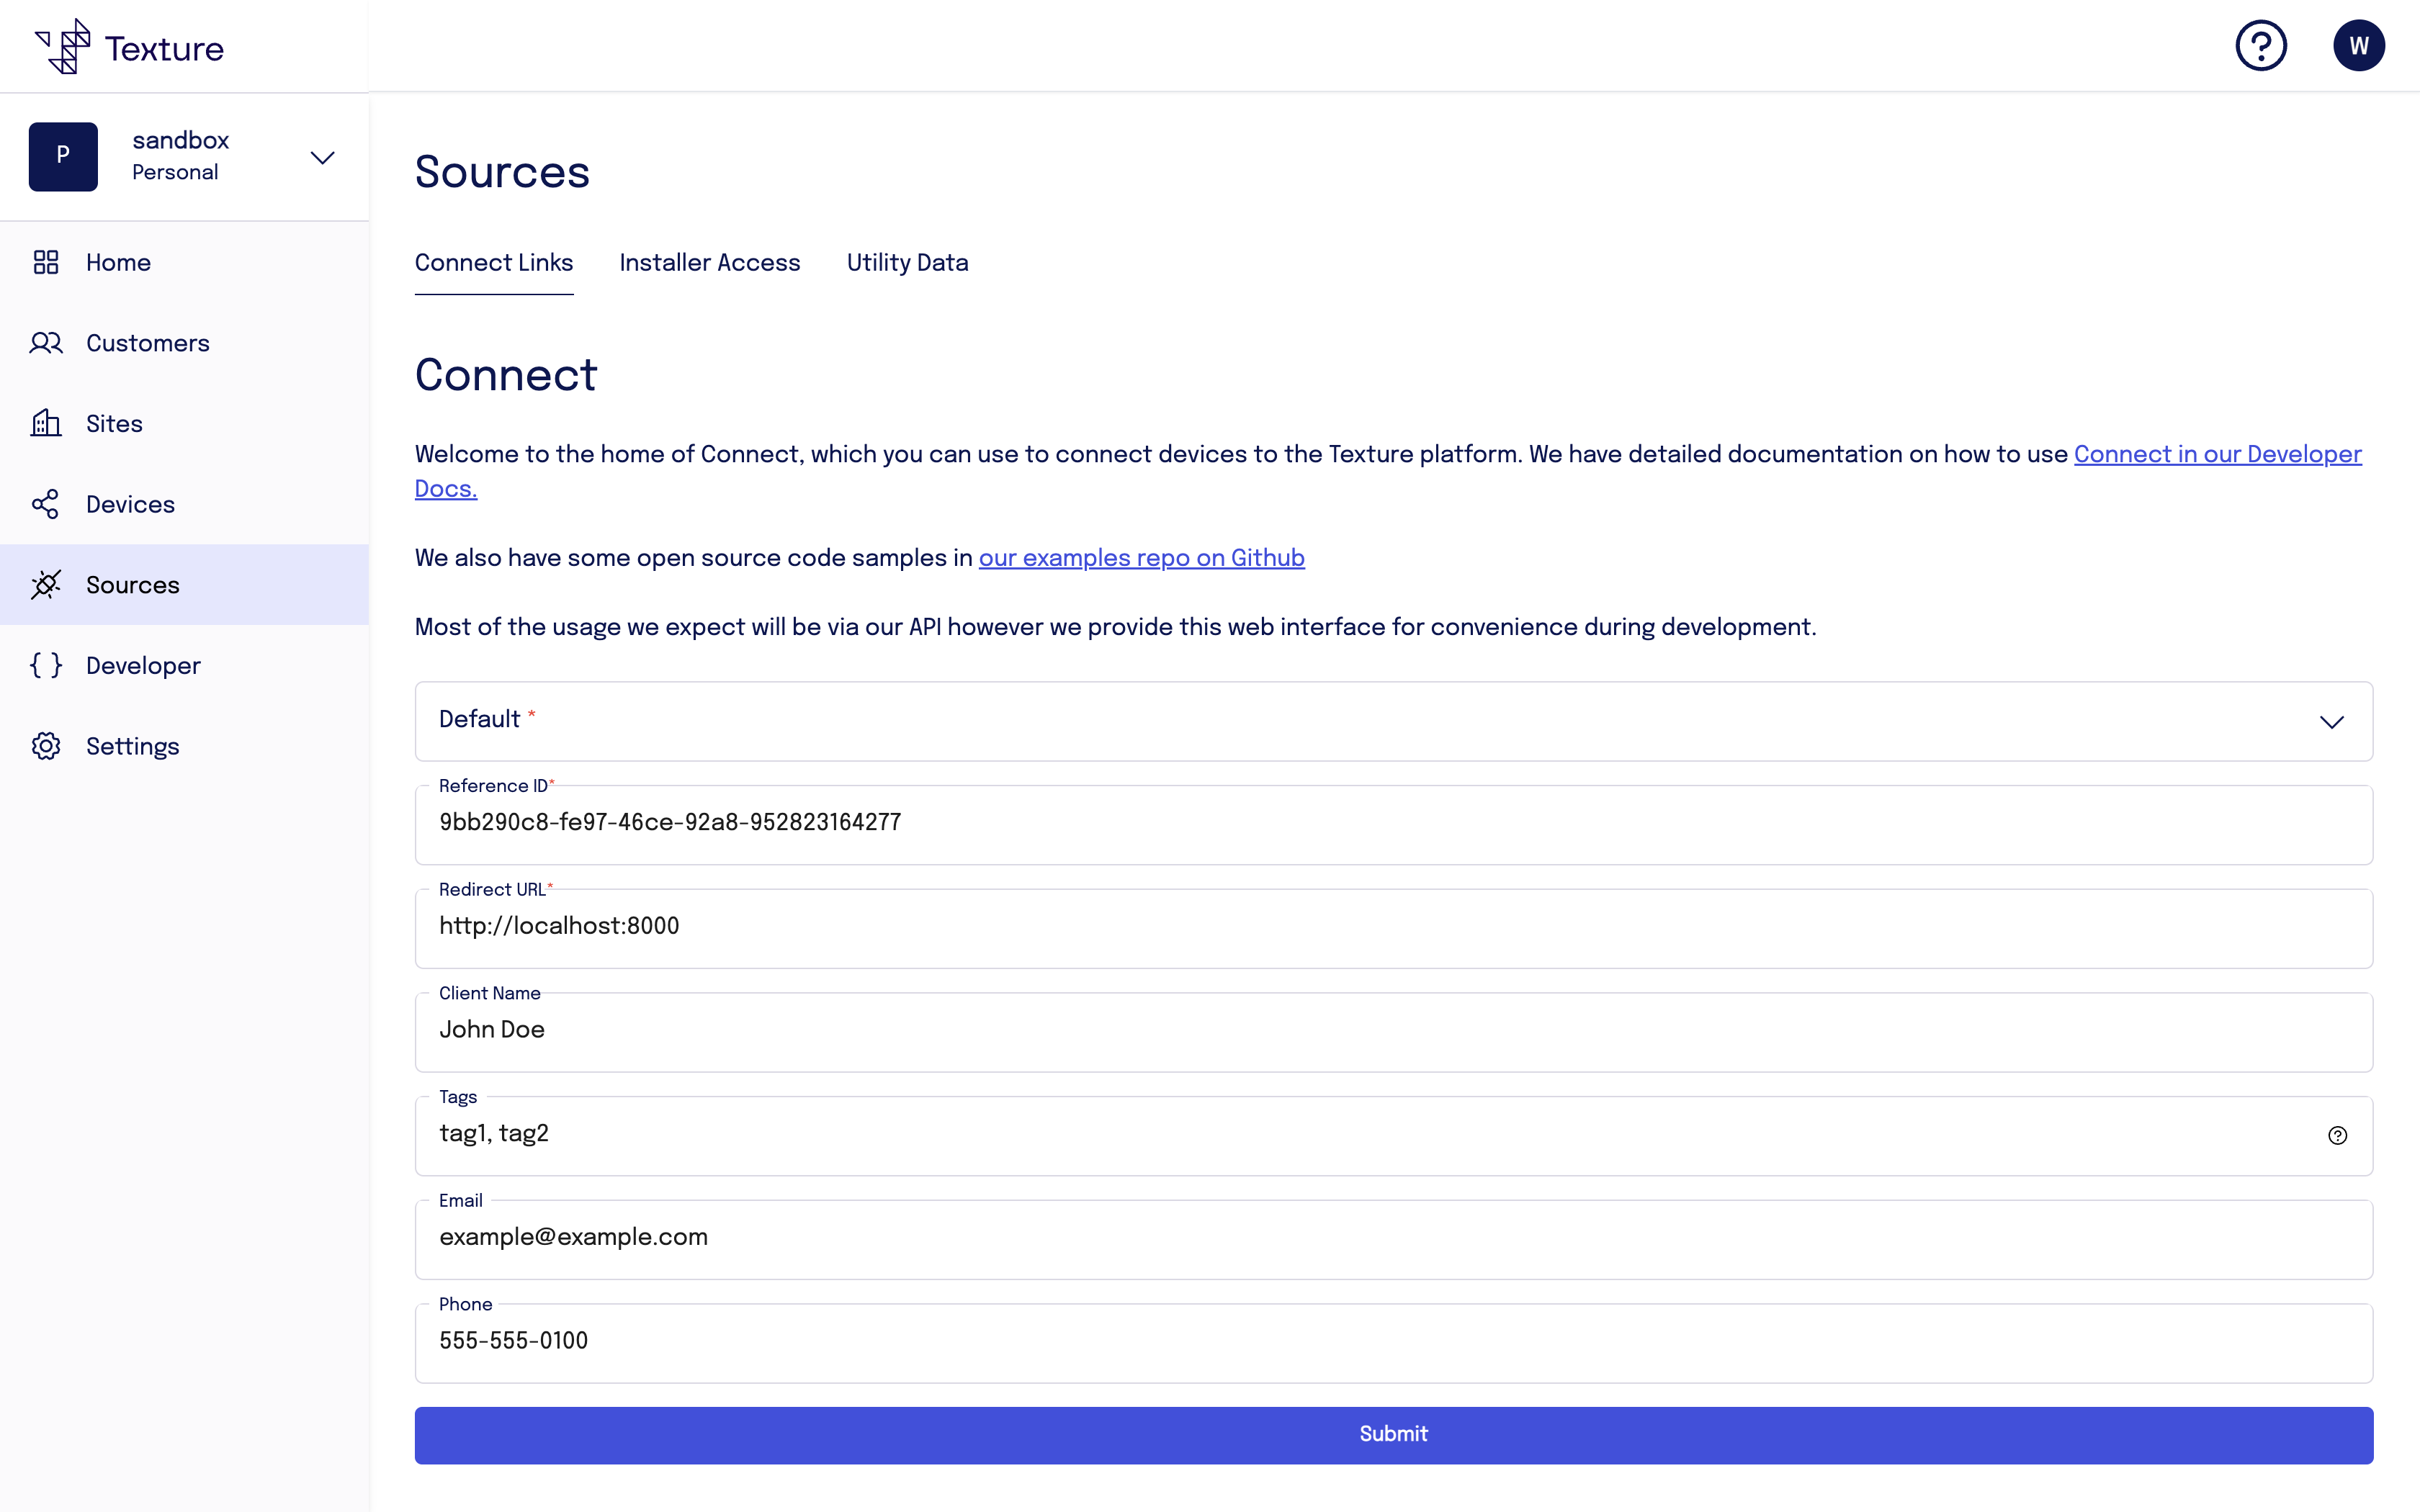
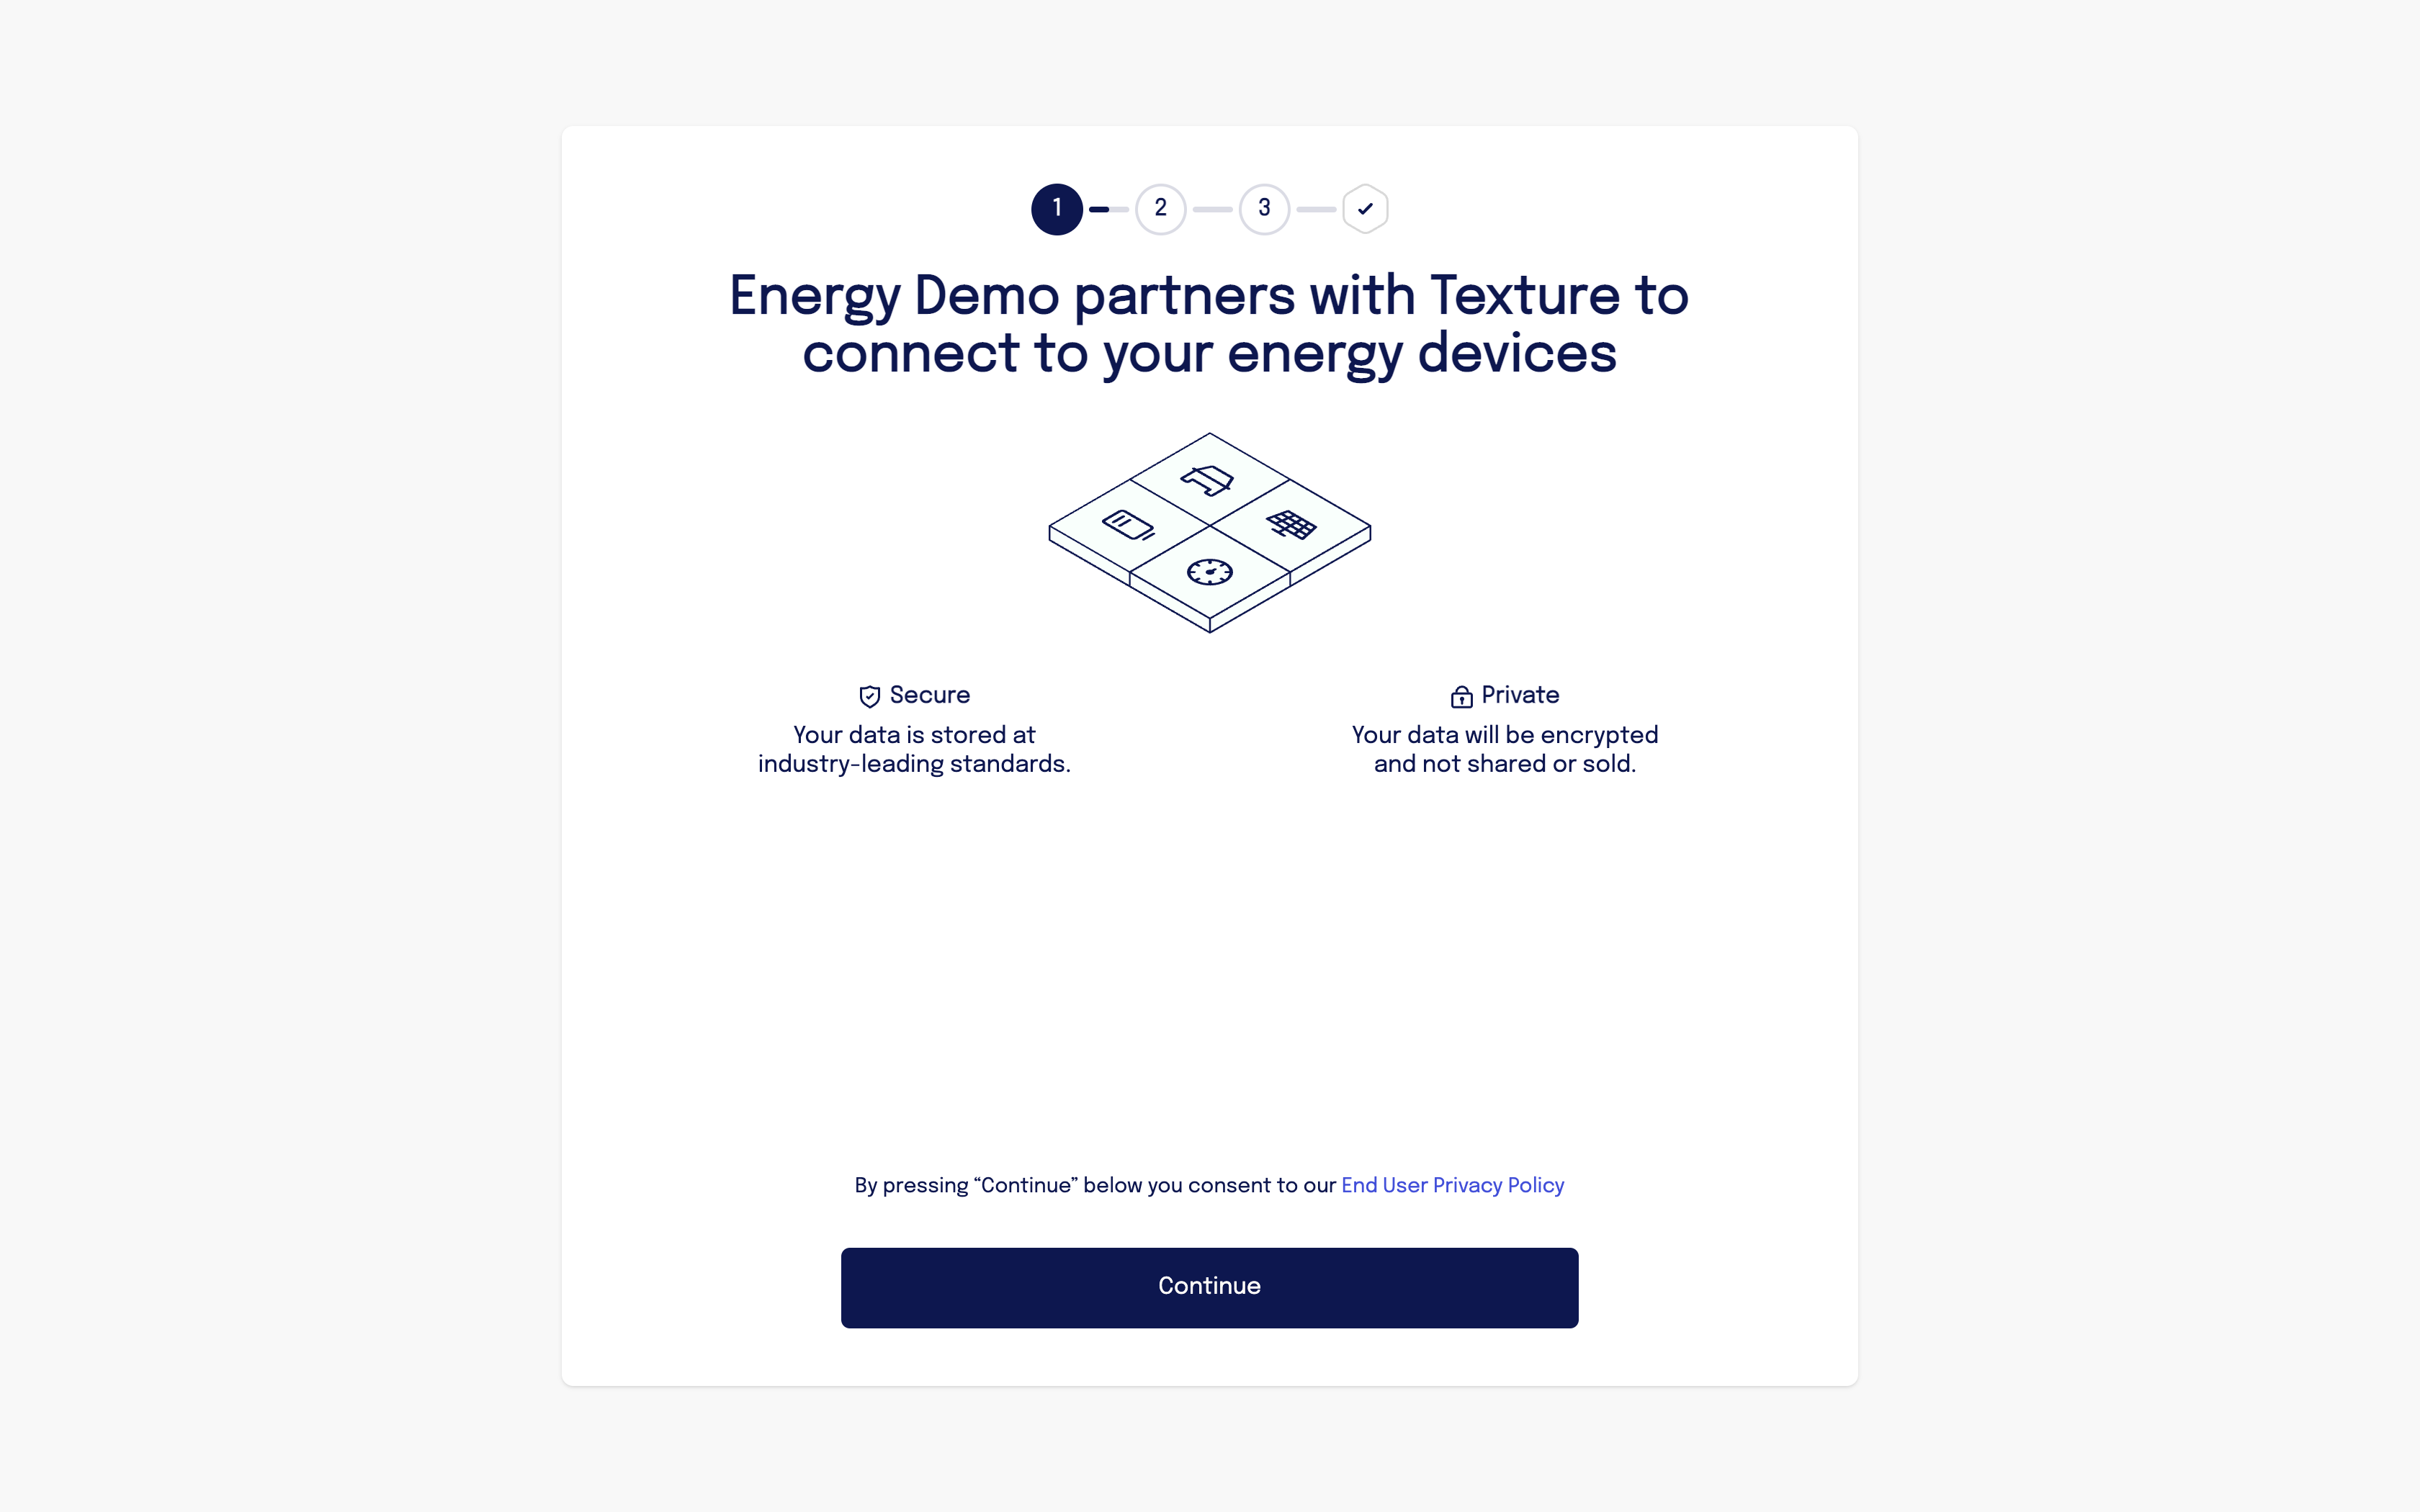
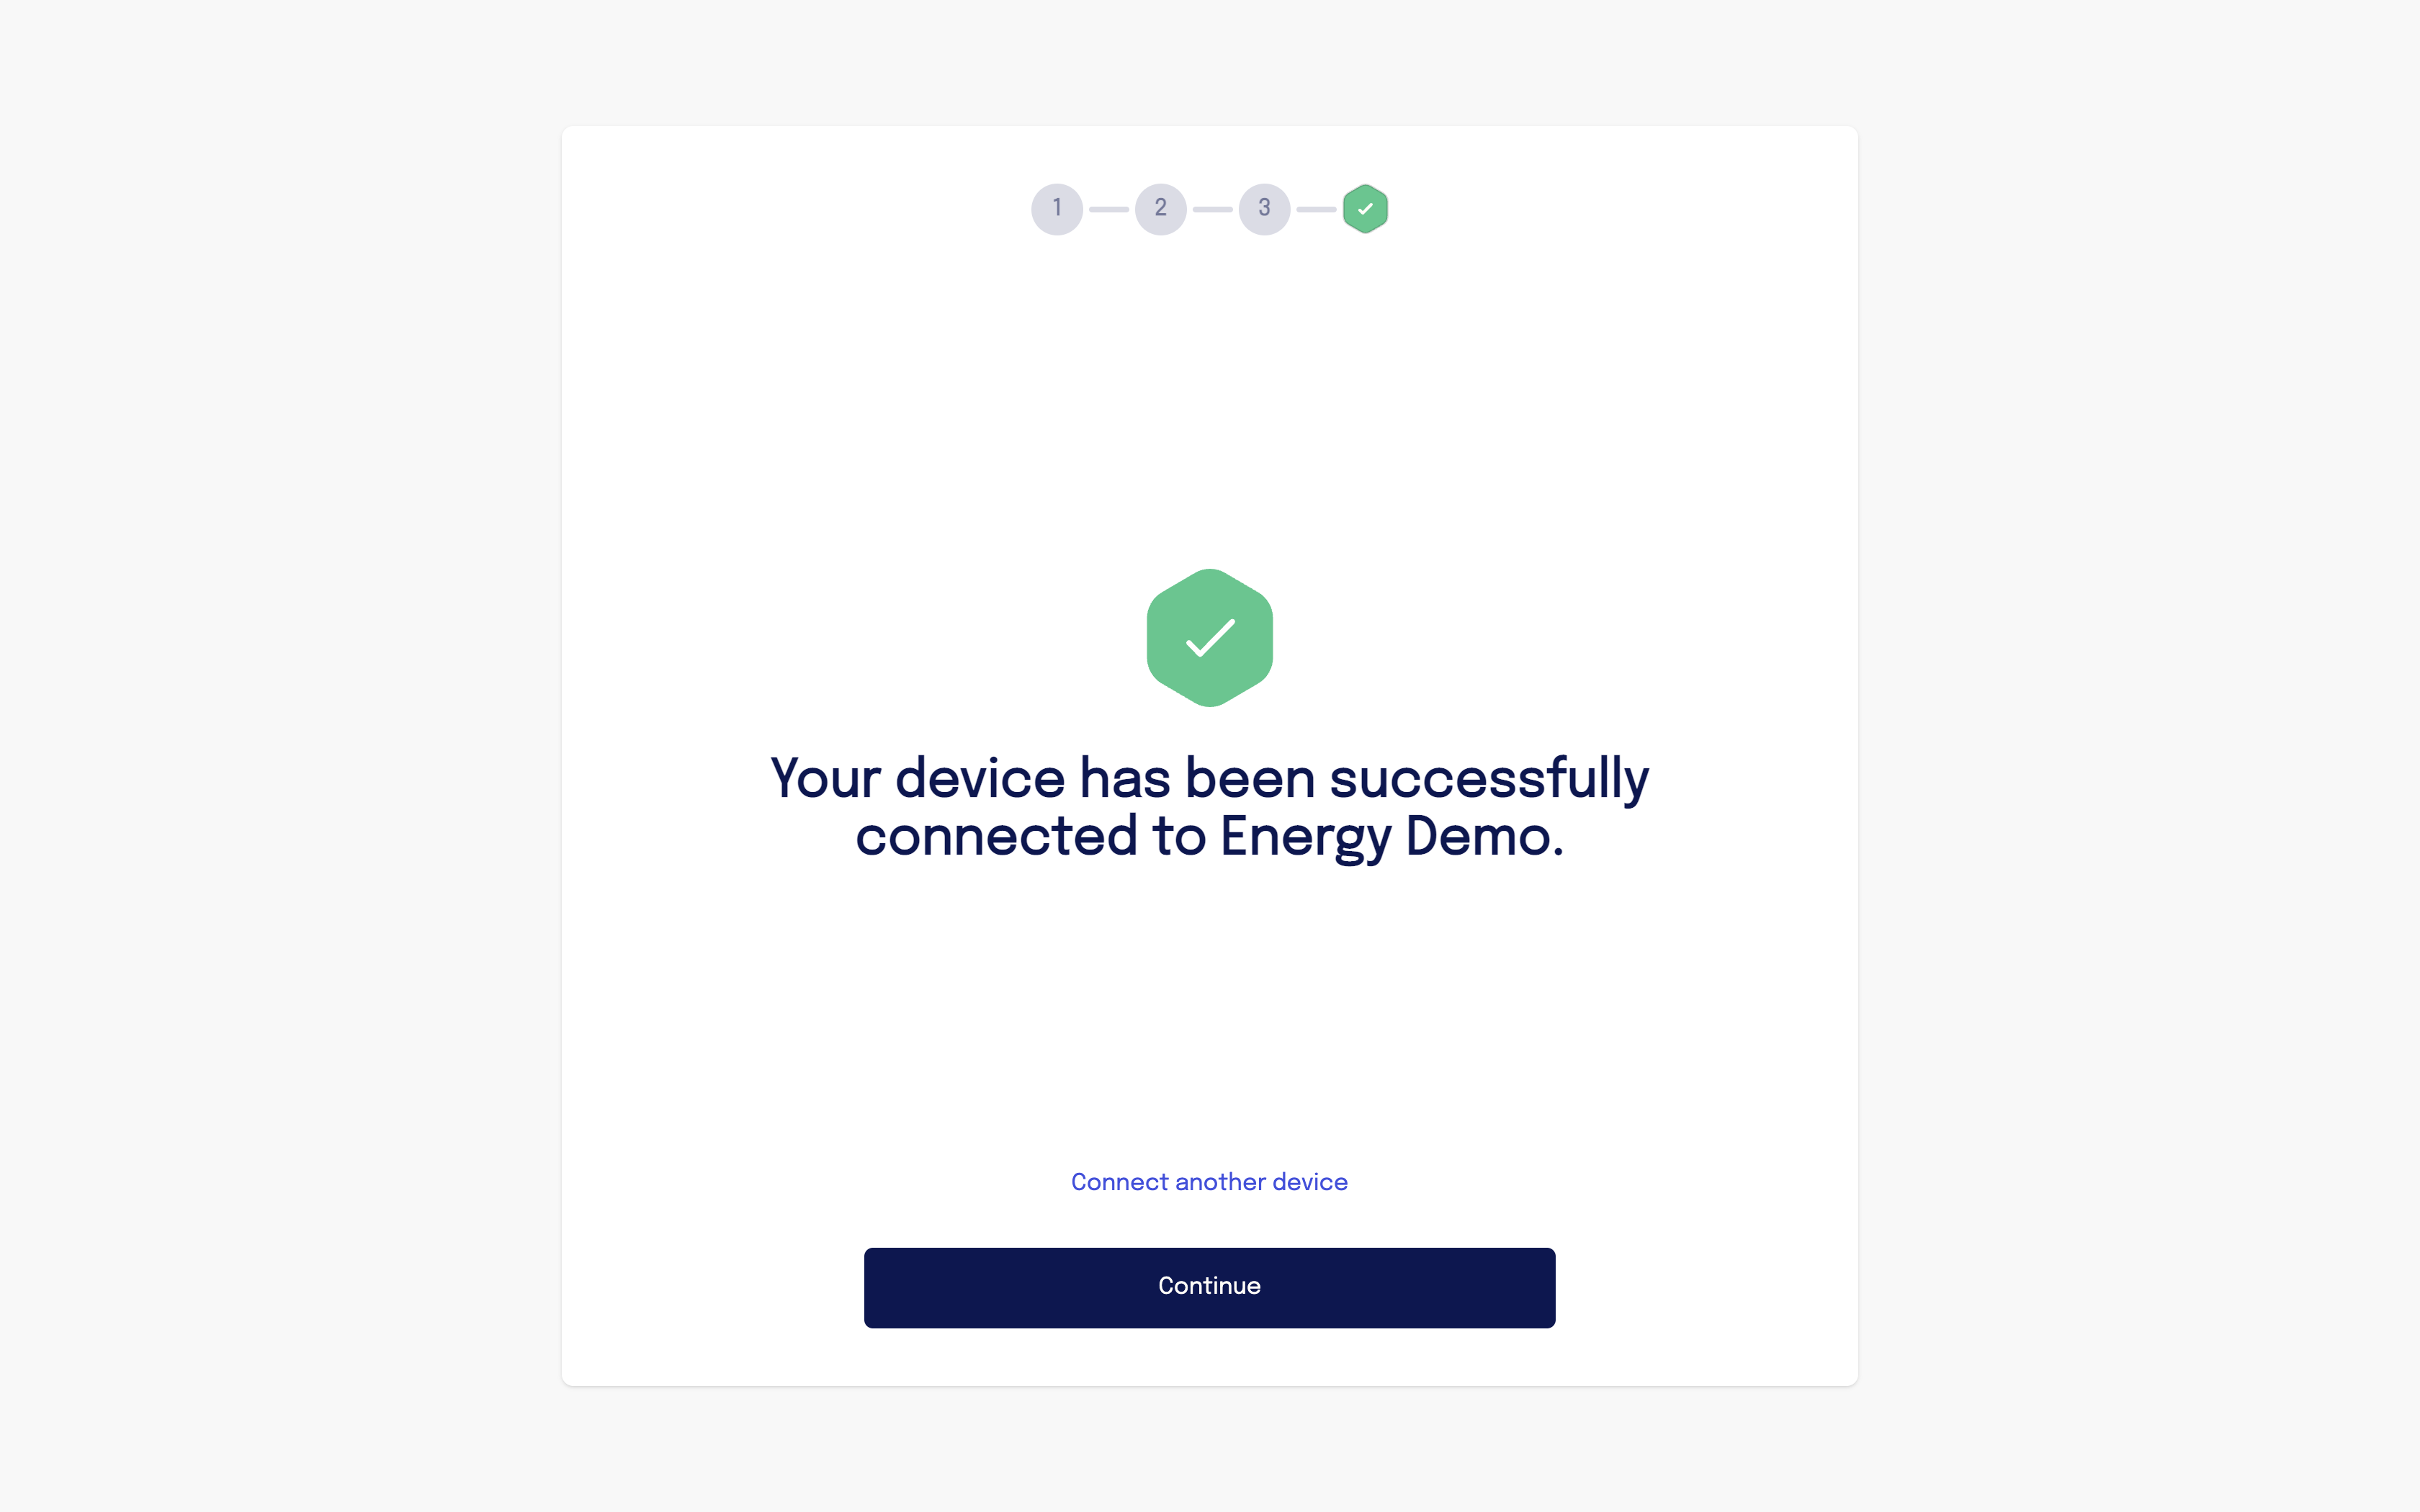
Once the user follows the link or is prompted to set up their device, they will be guided through the Texture Connect flow. This process is designed to be user-friendly and intuitive. Here's what the user can expect:
Welcome Screen: The user is greeted with a welcome screen that introduces the connection process.
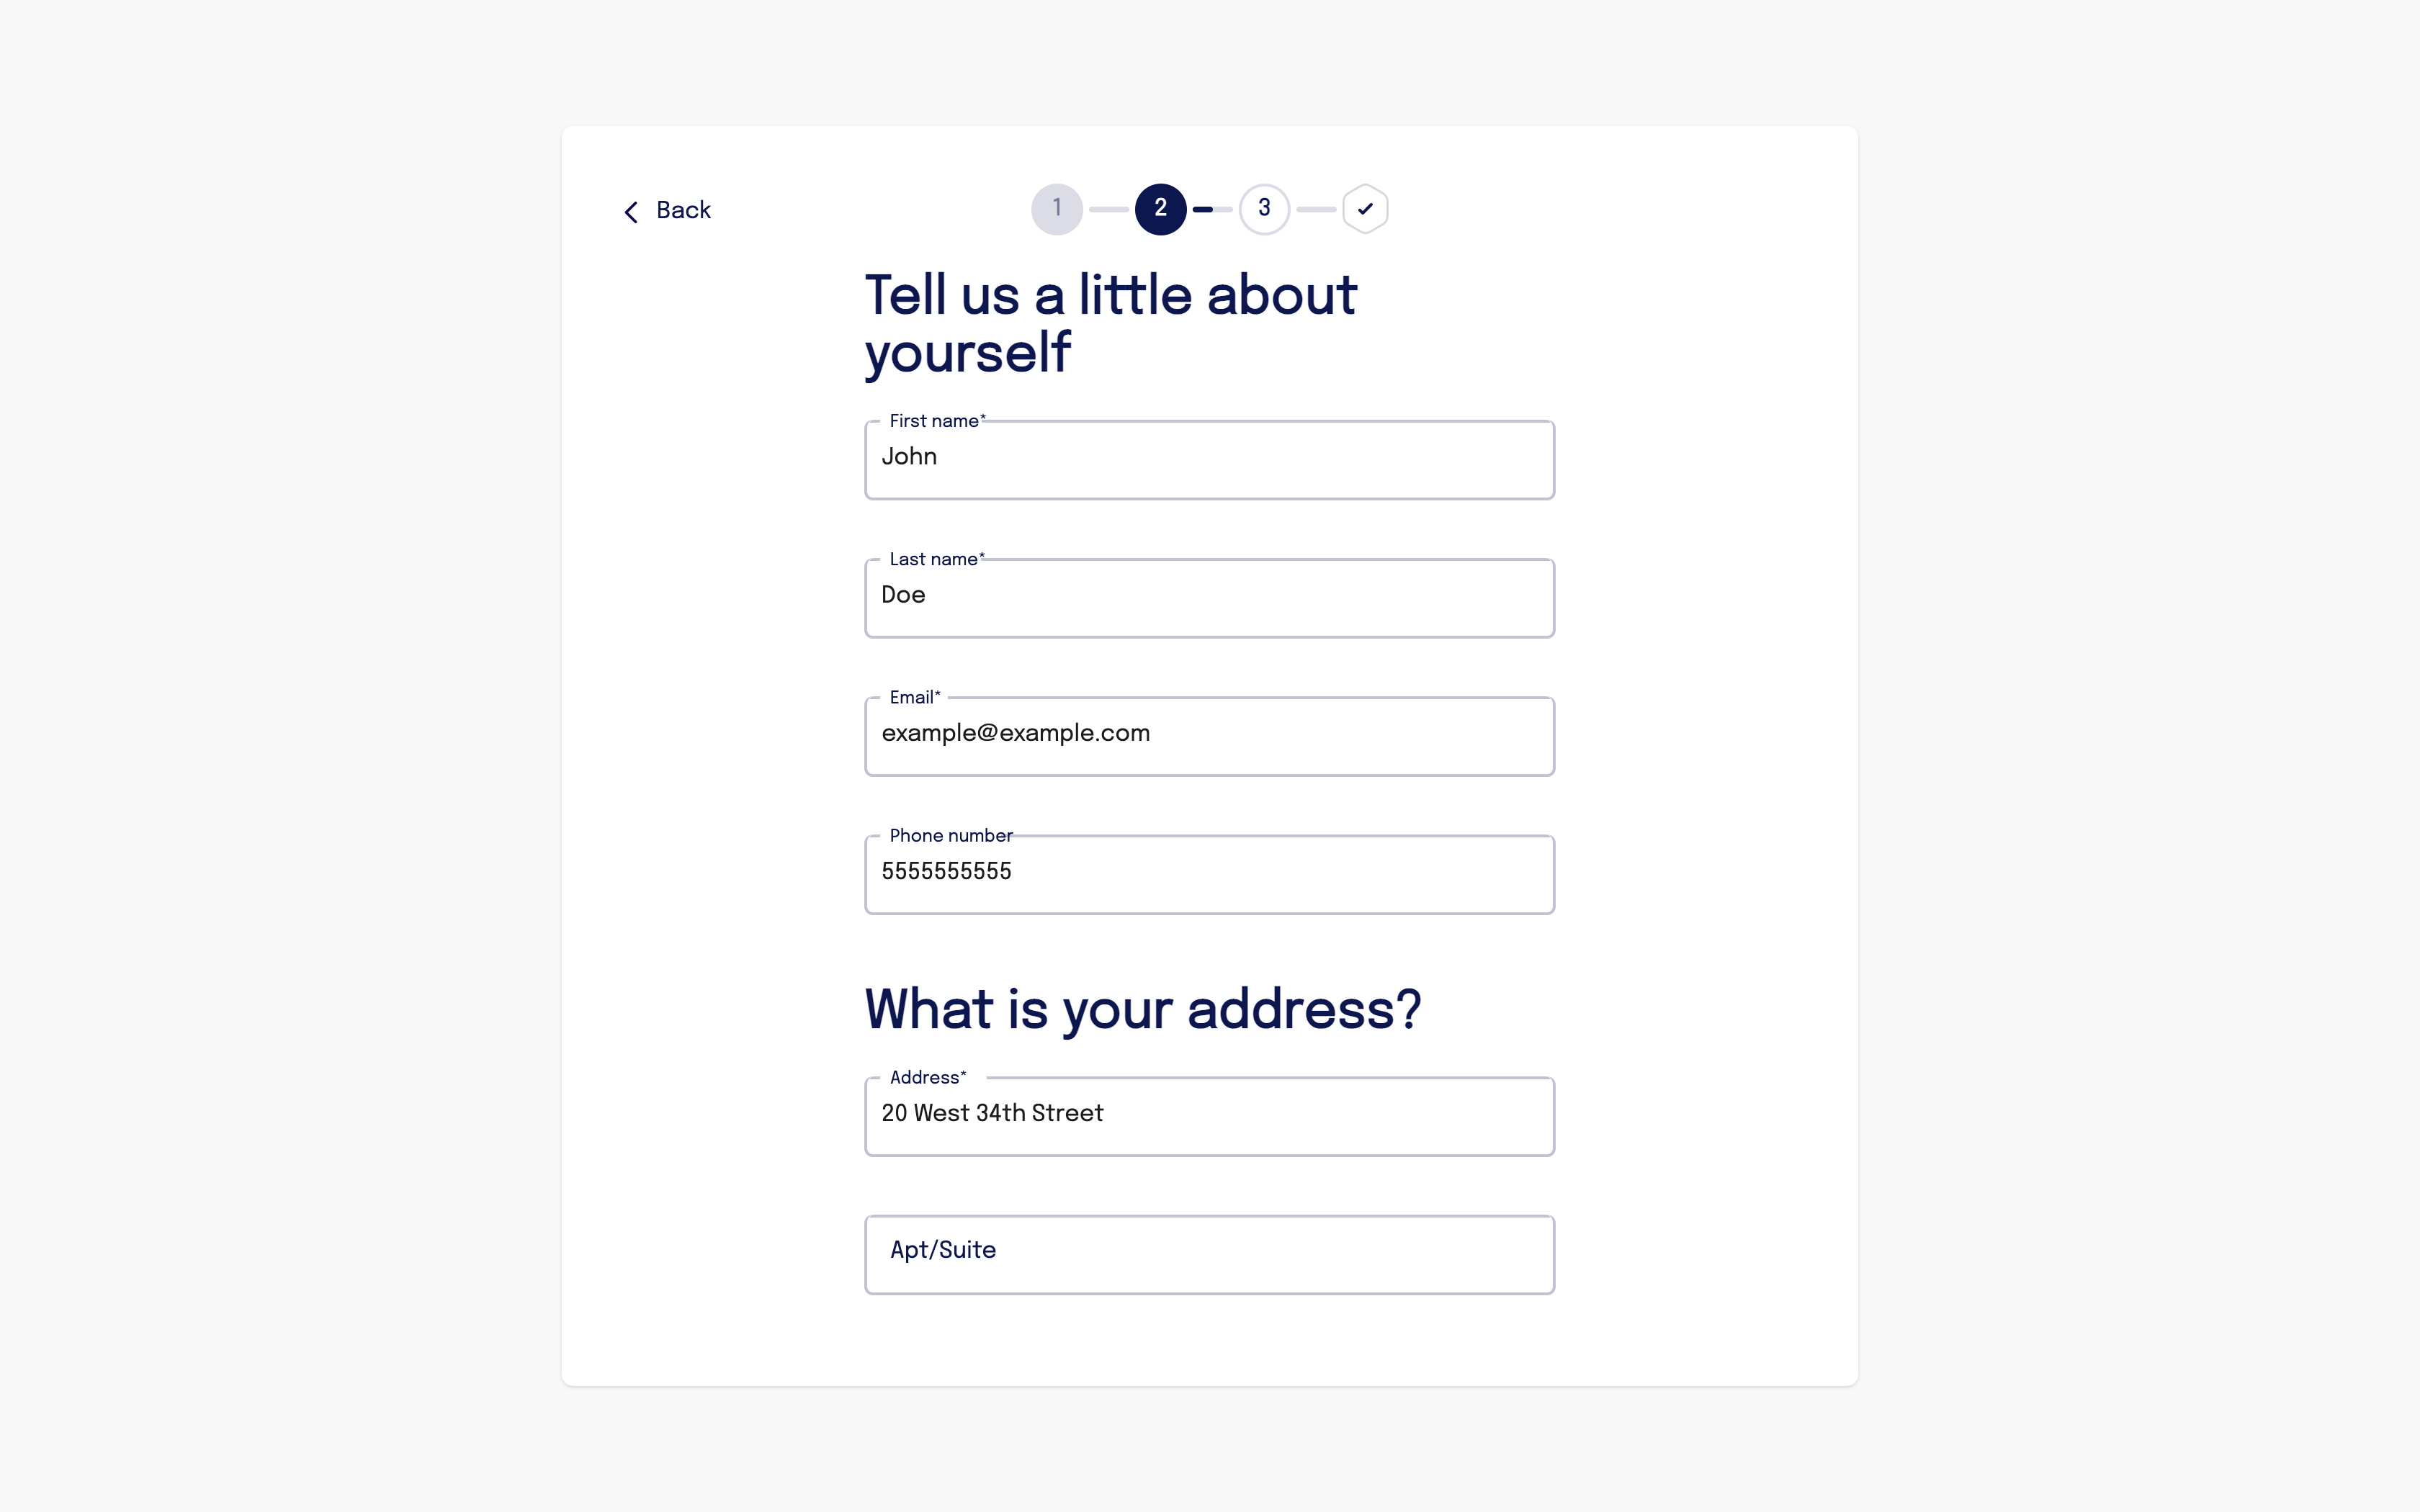
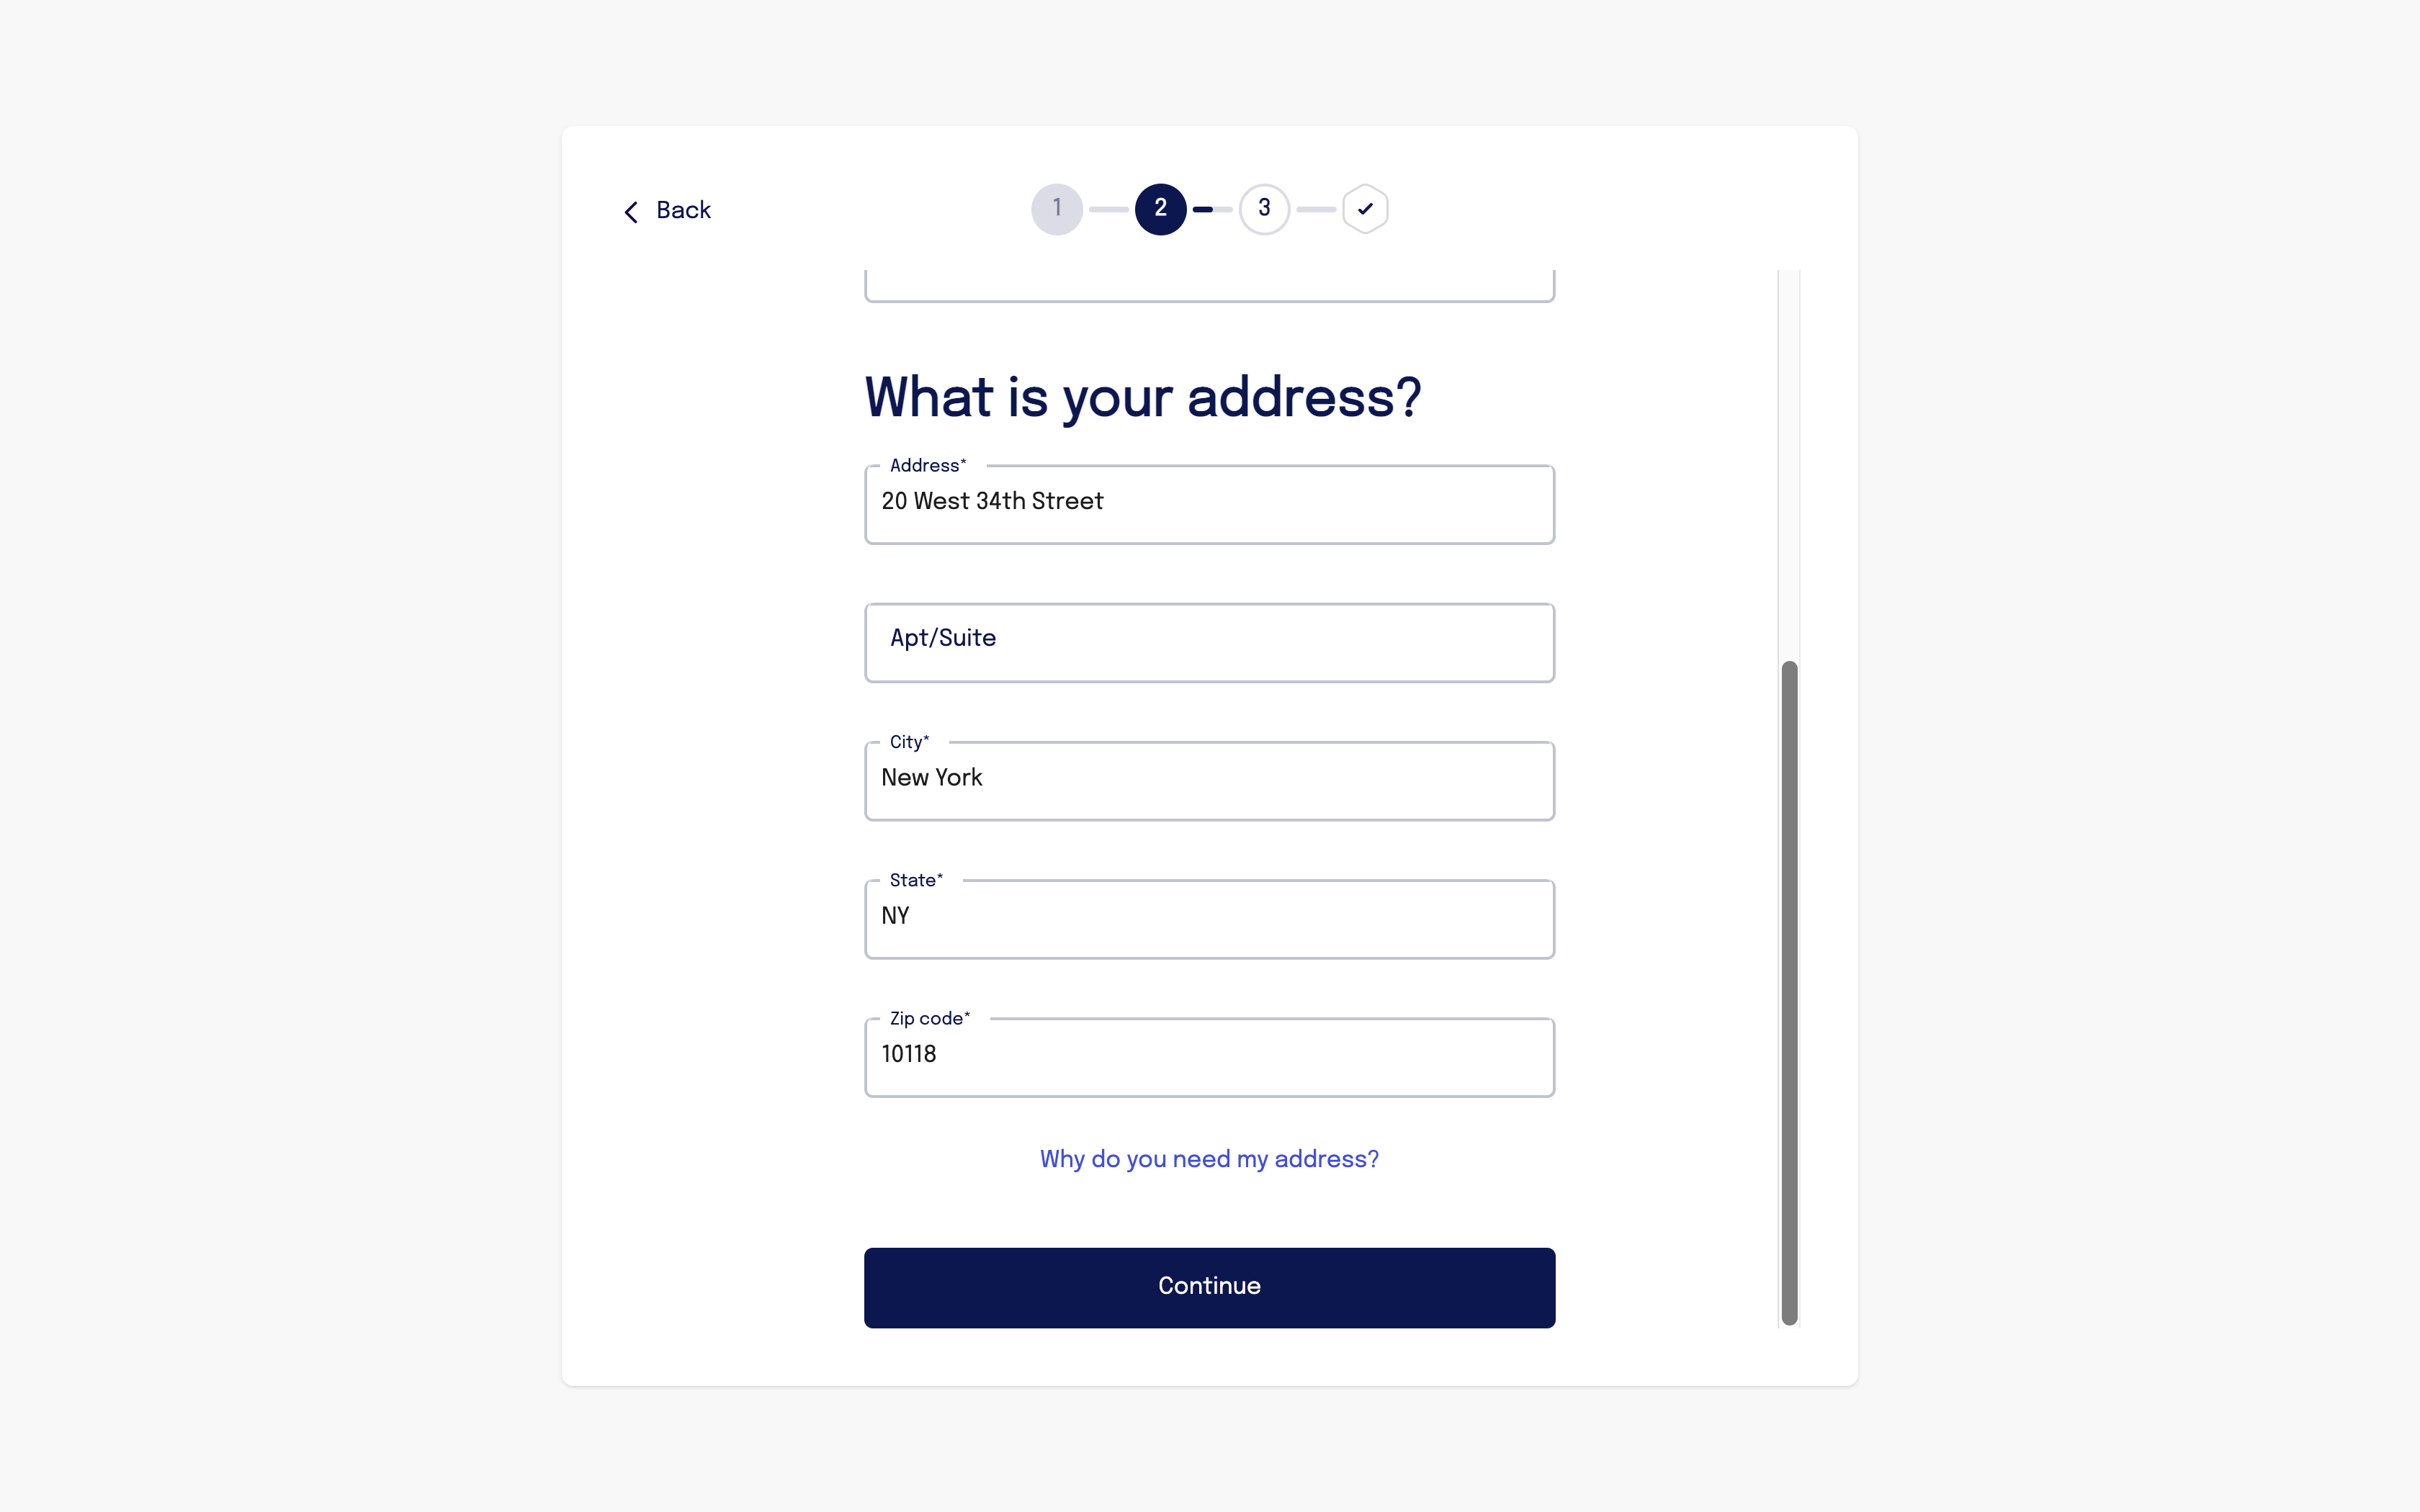
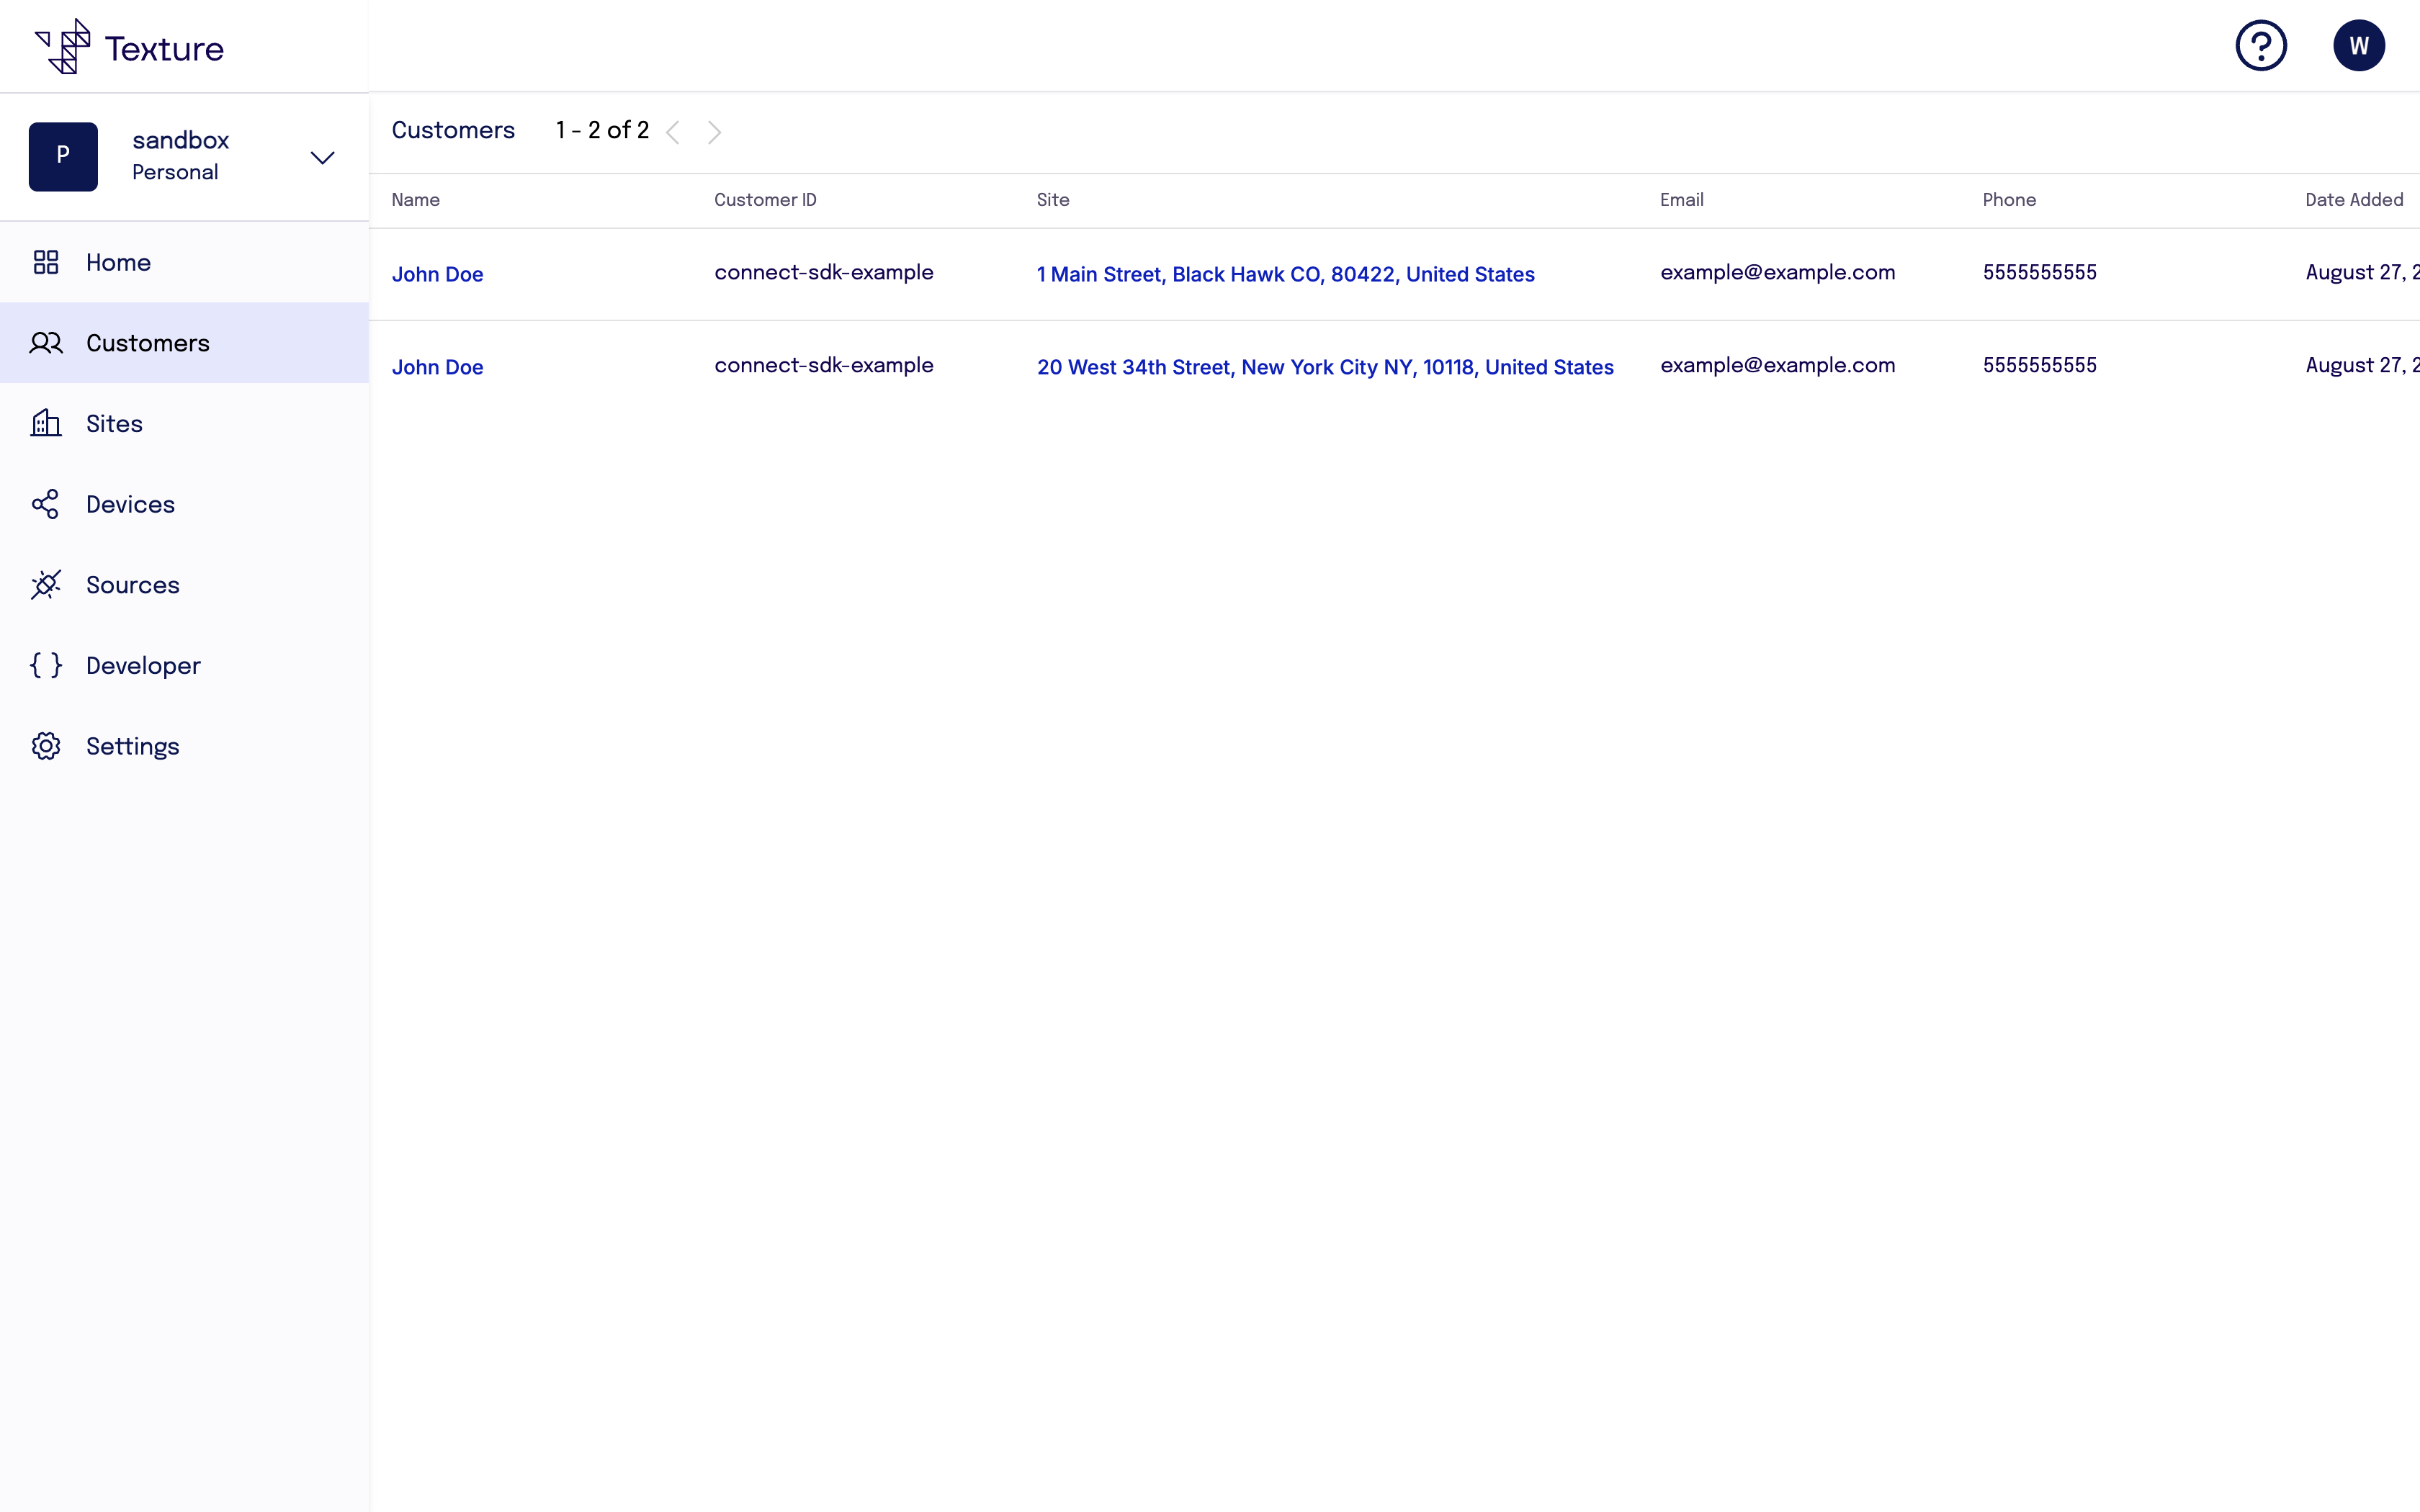
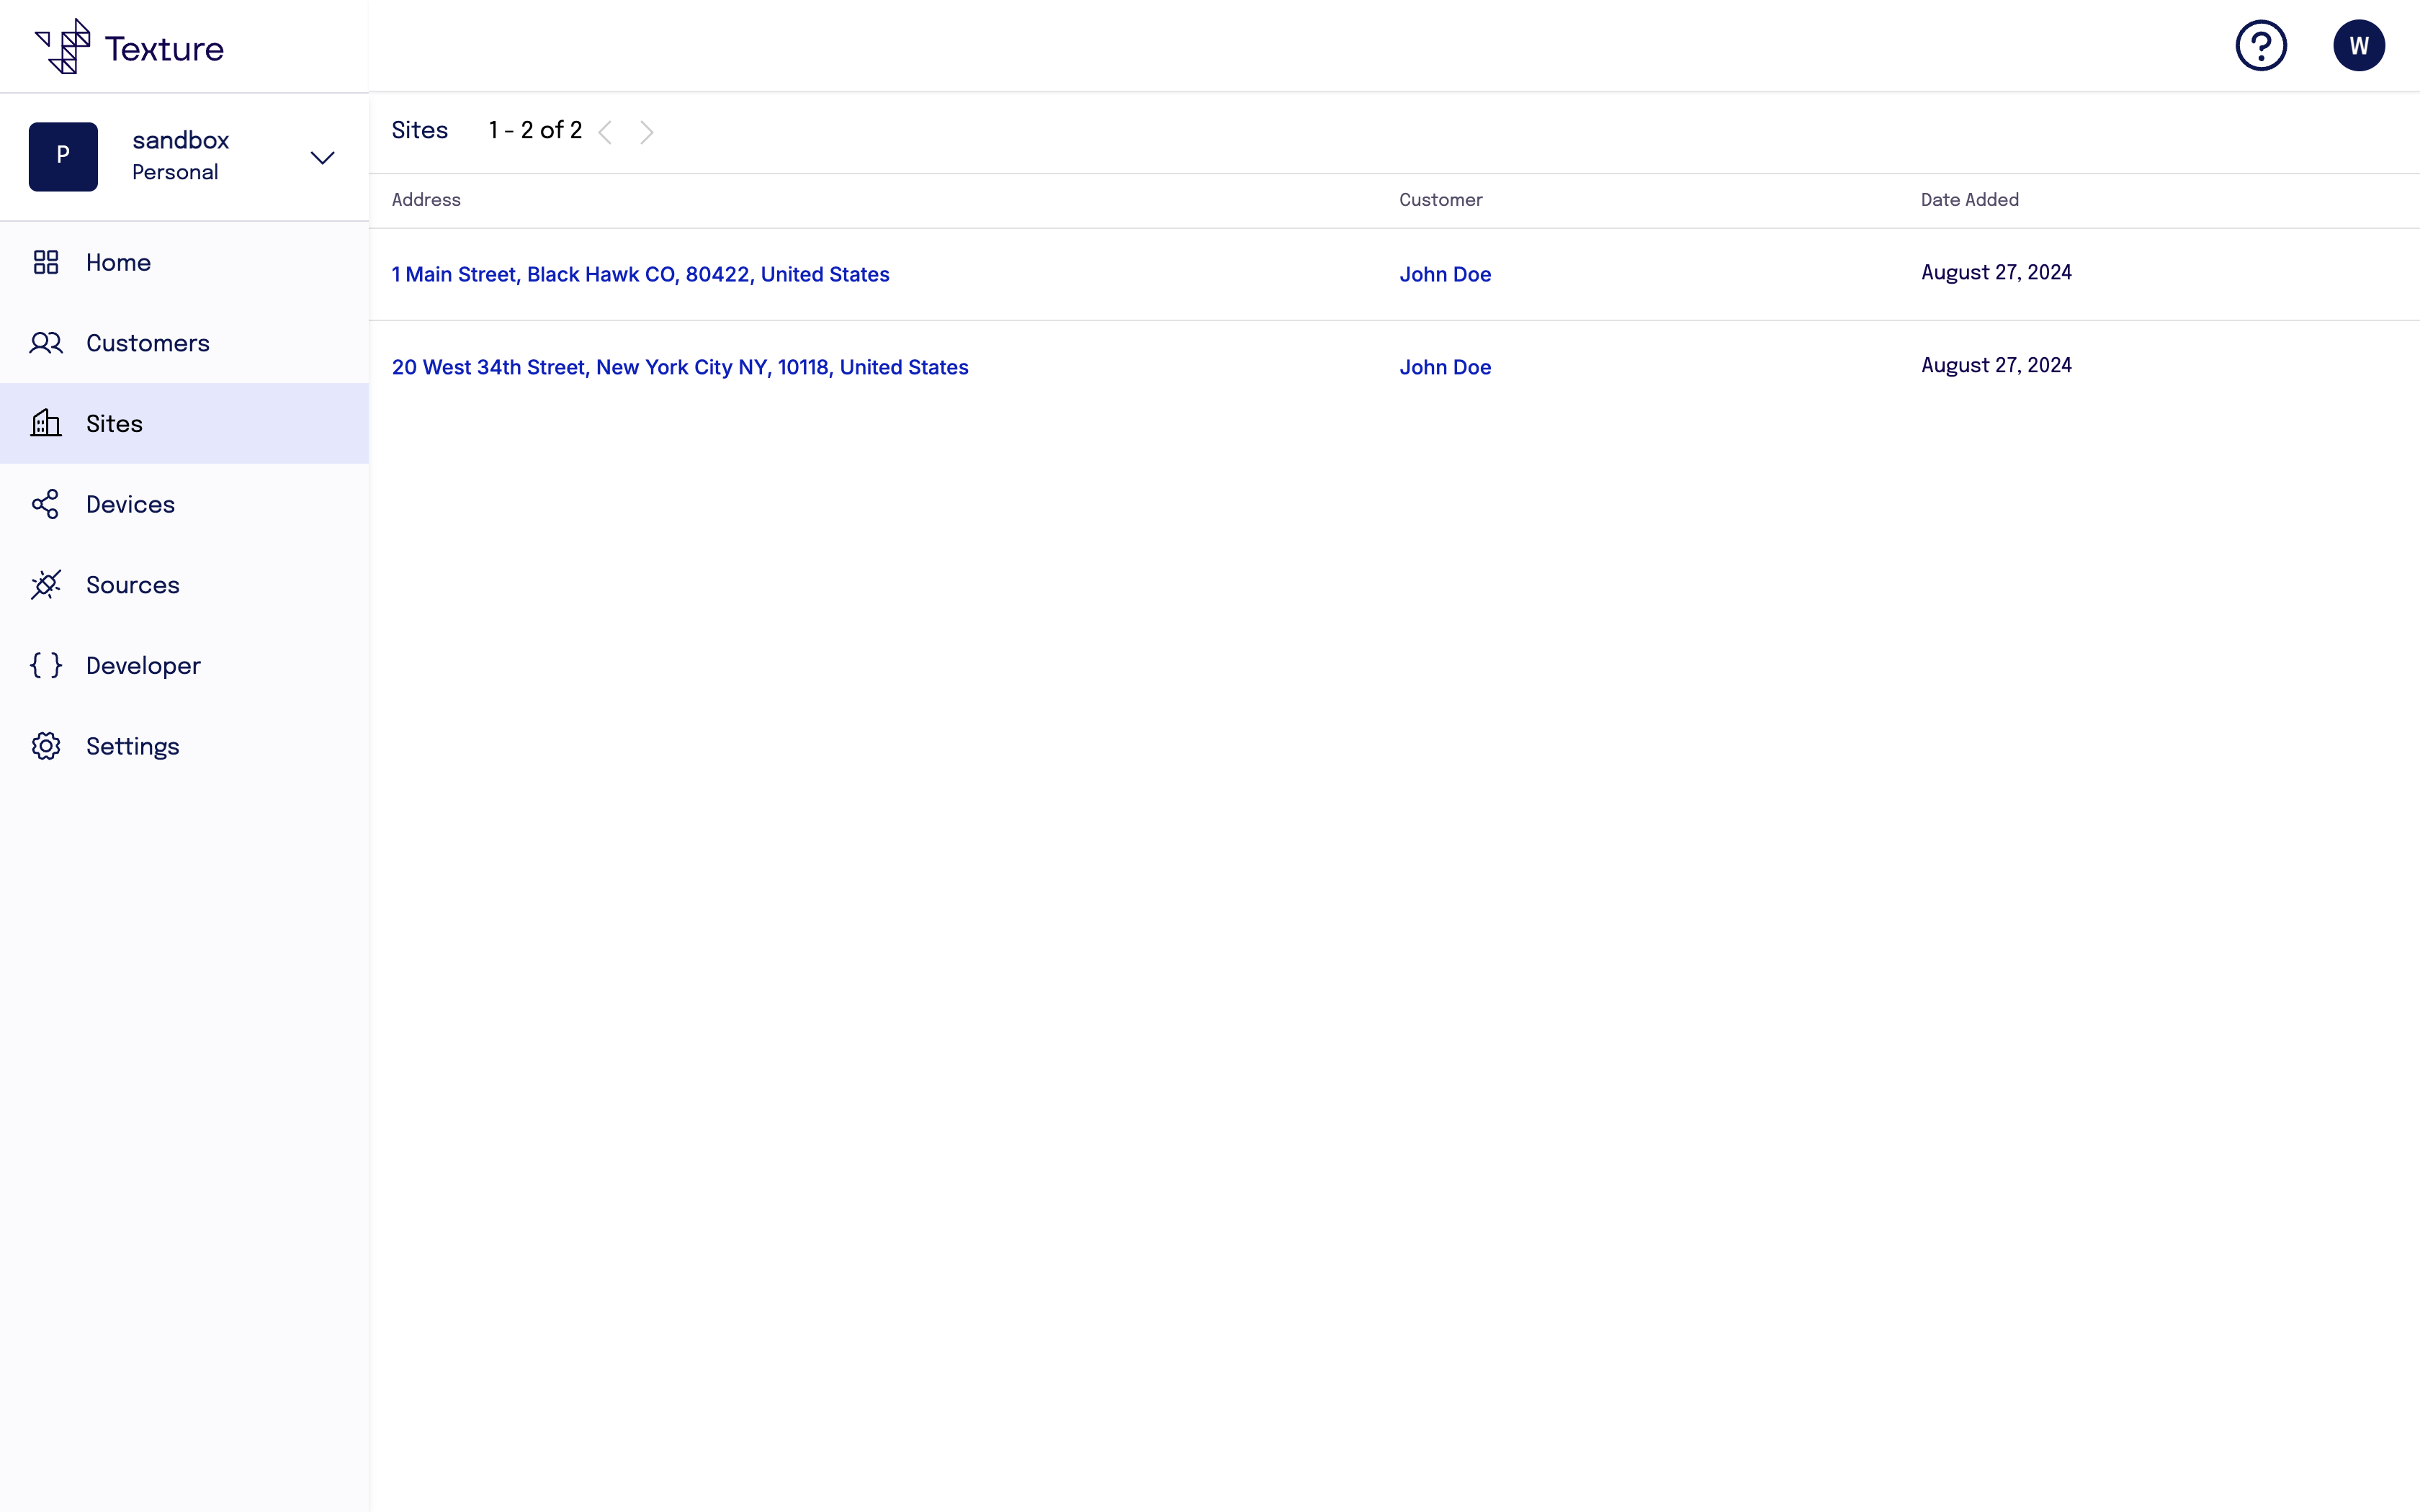
User Information: The user enters their name, contact, and address information.
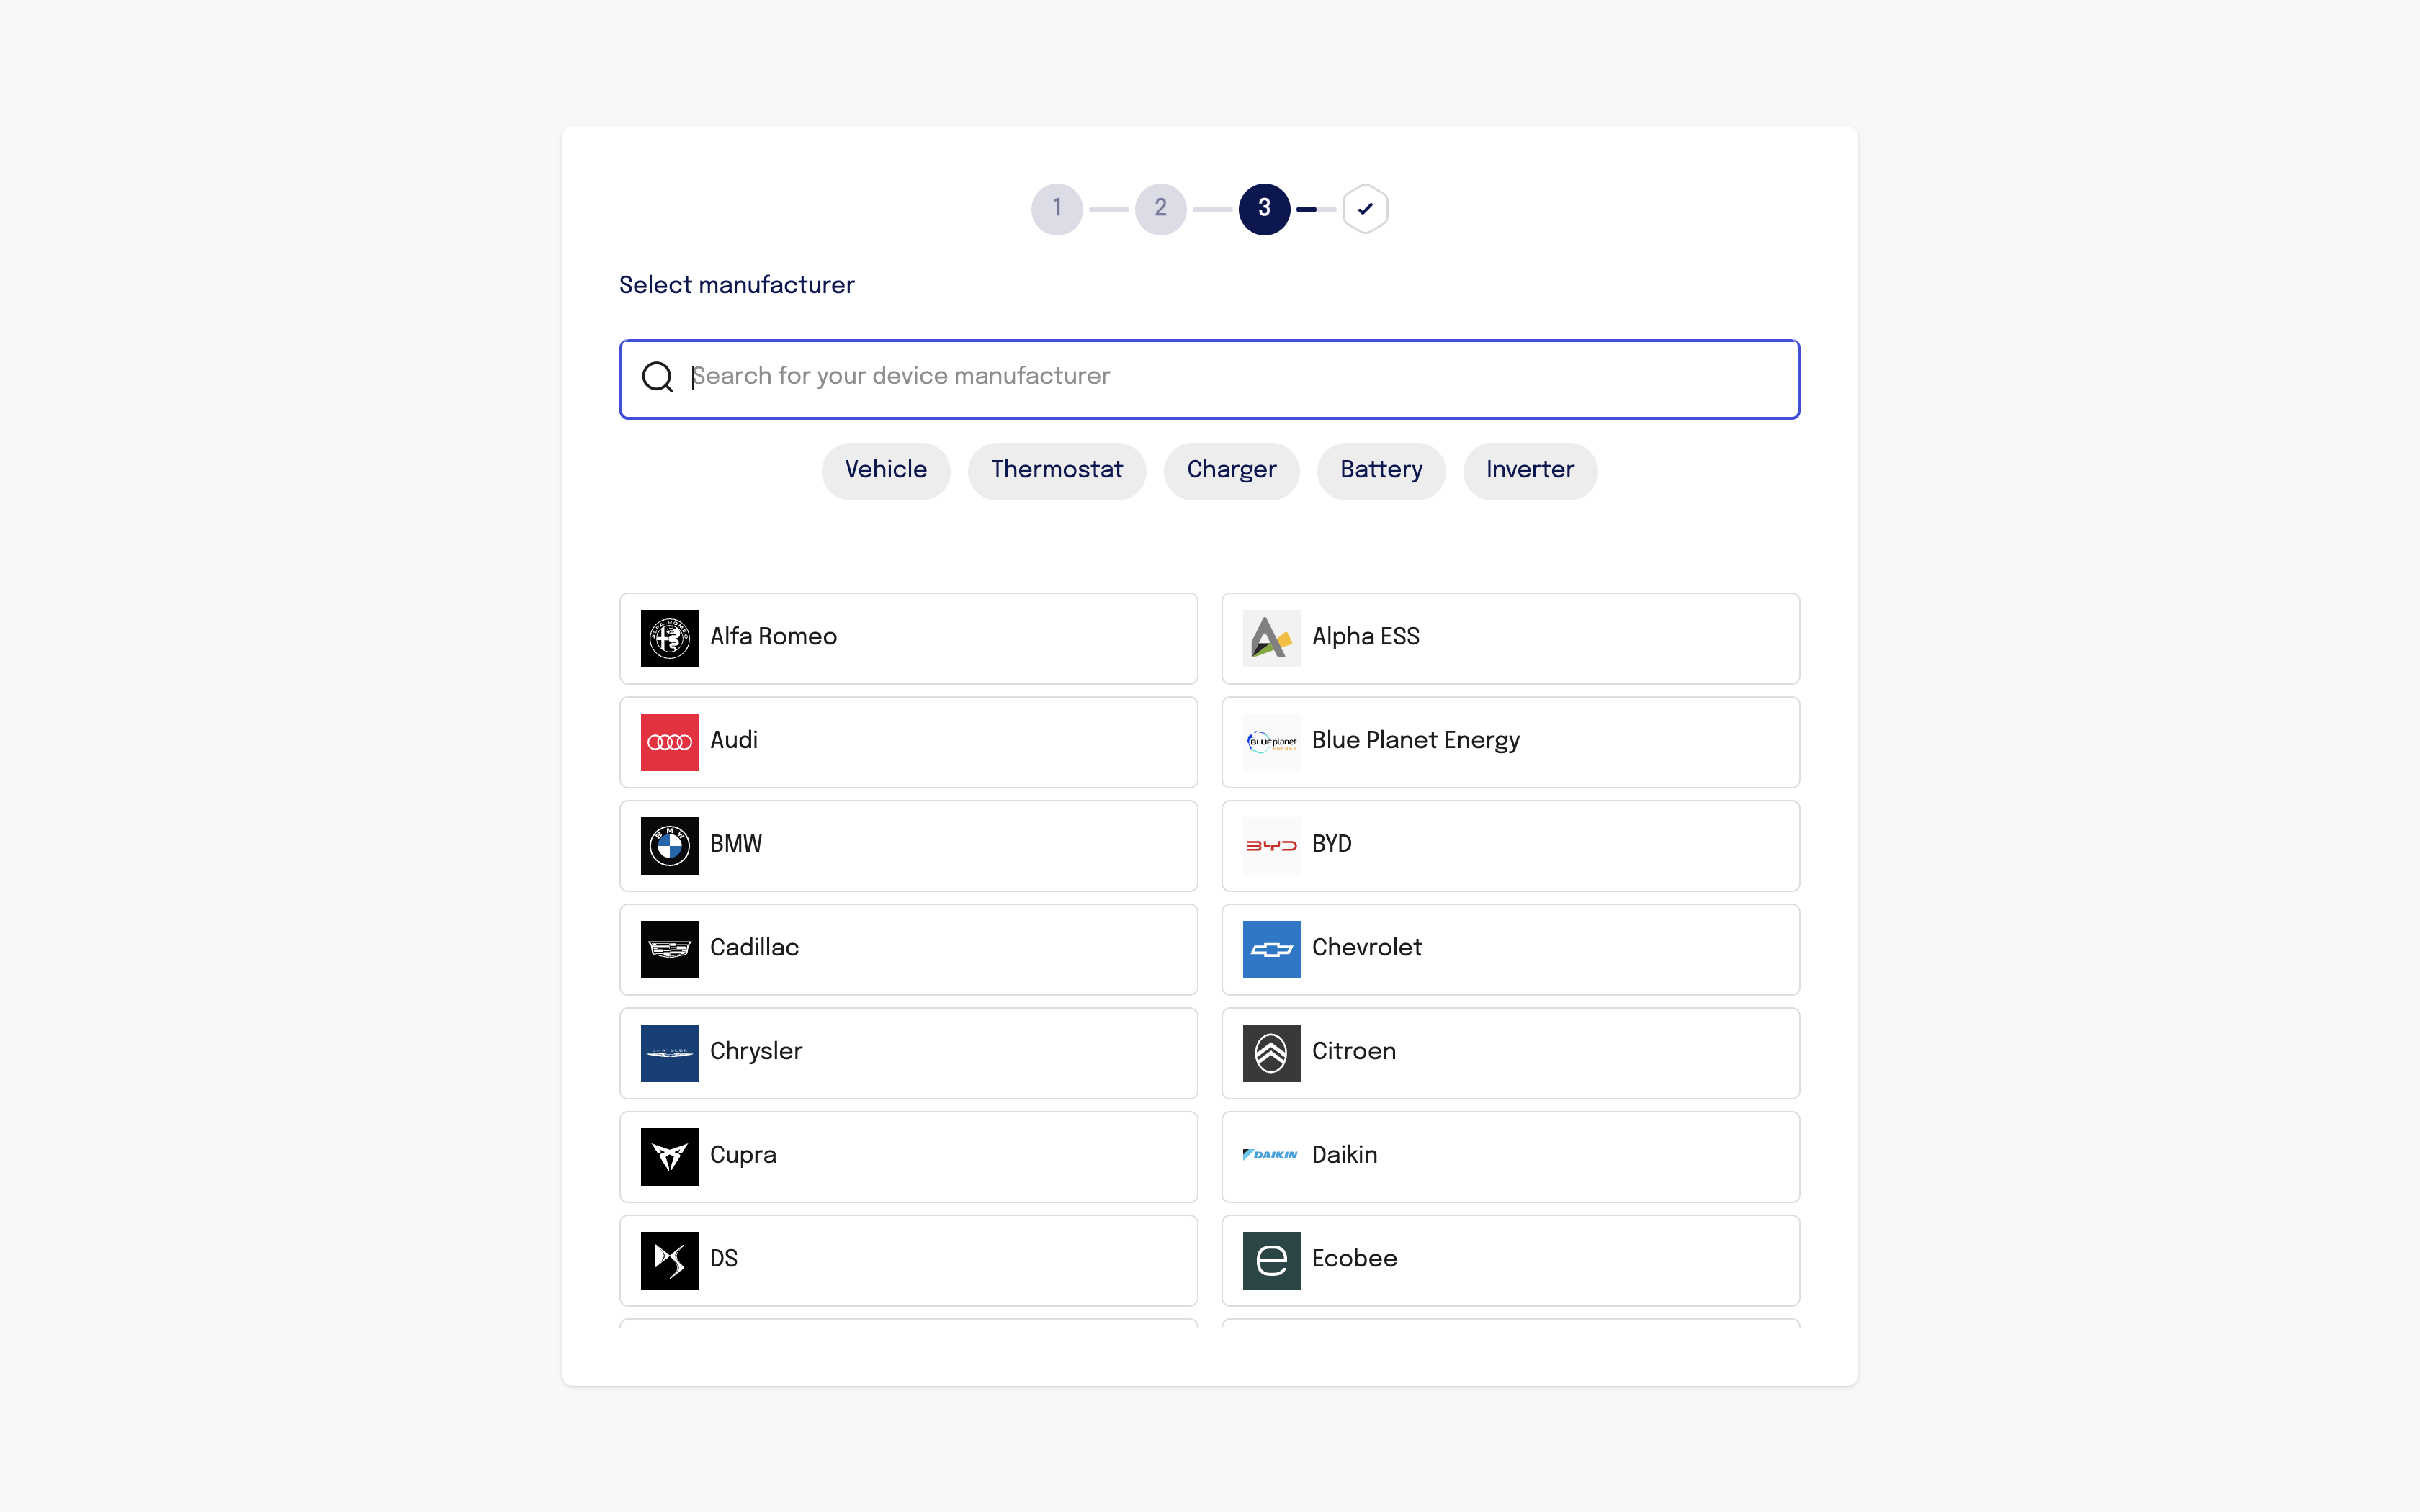
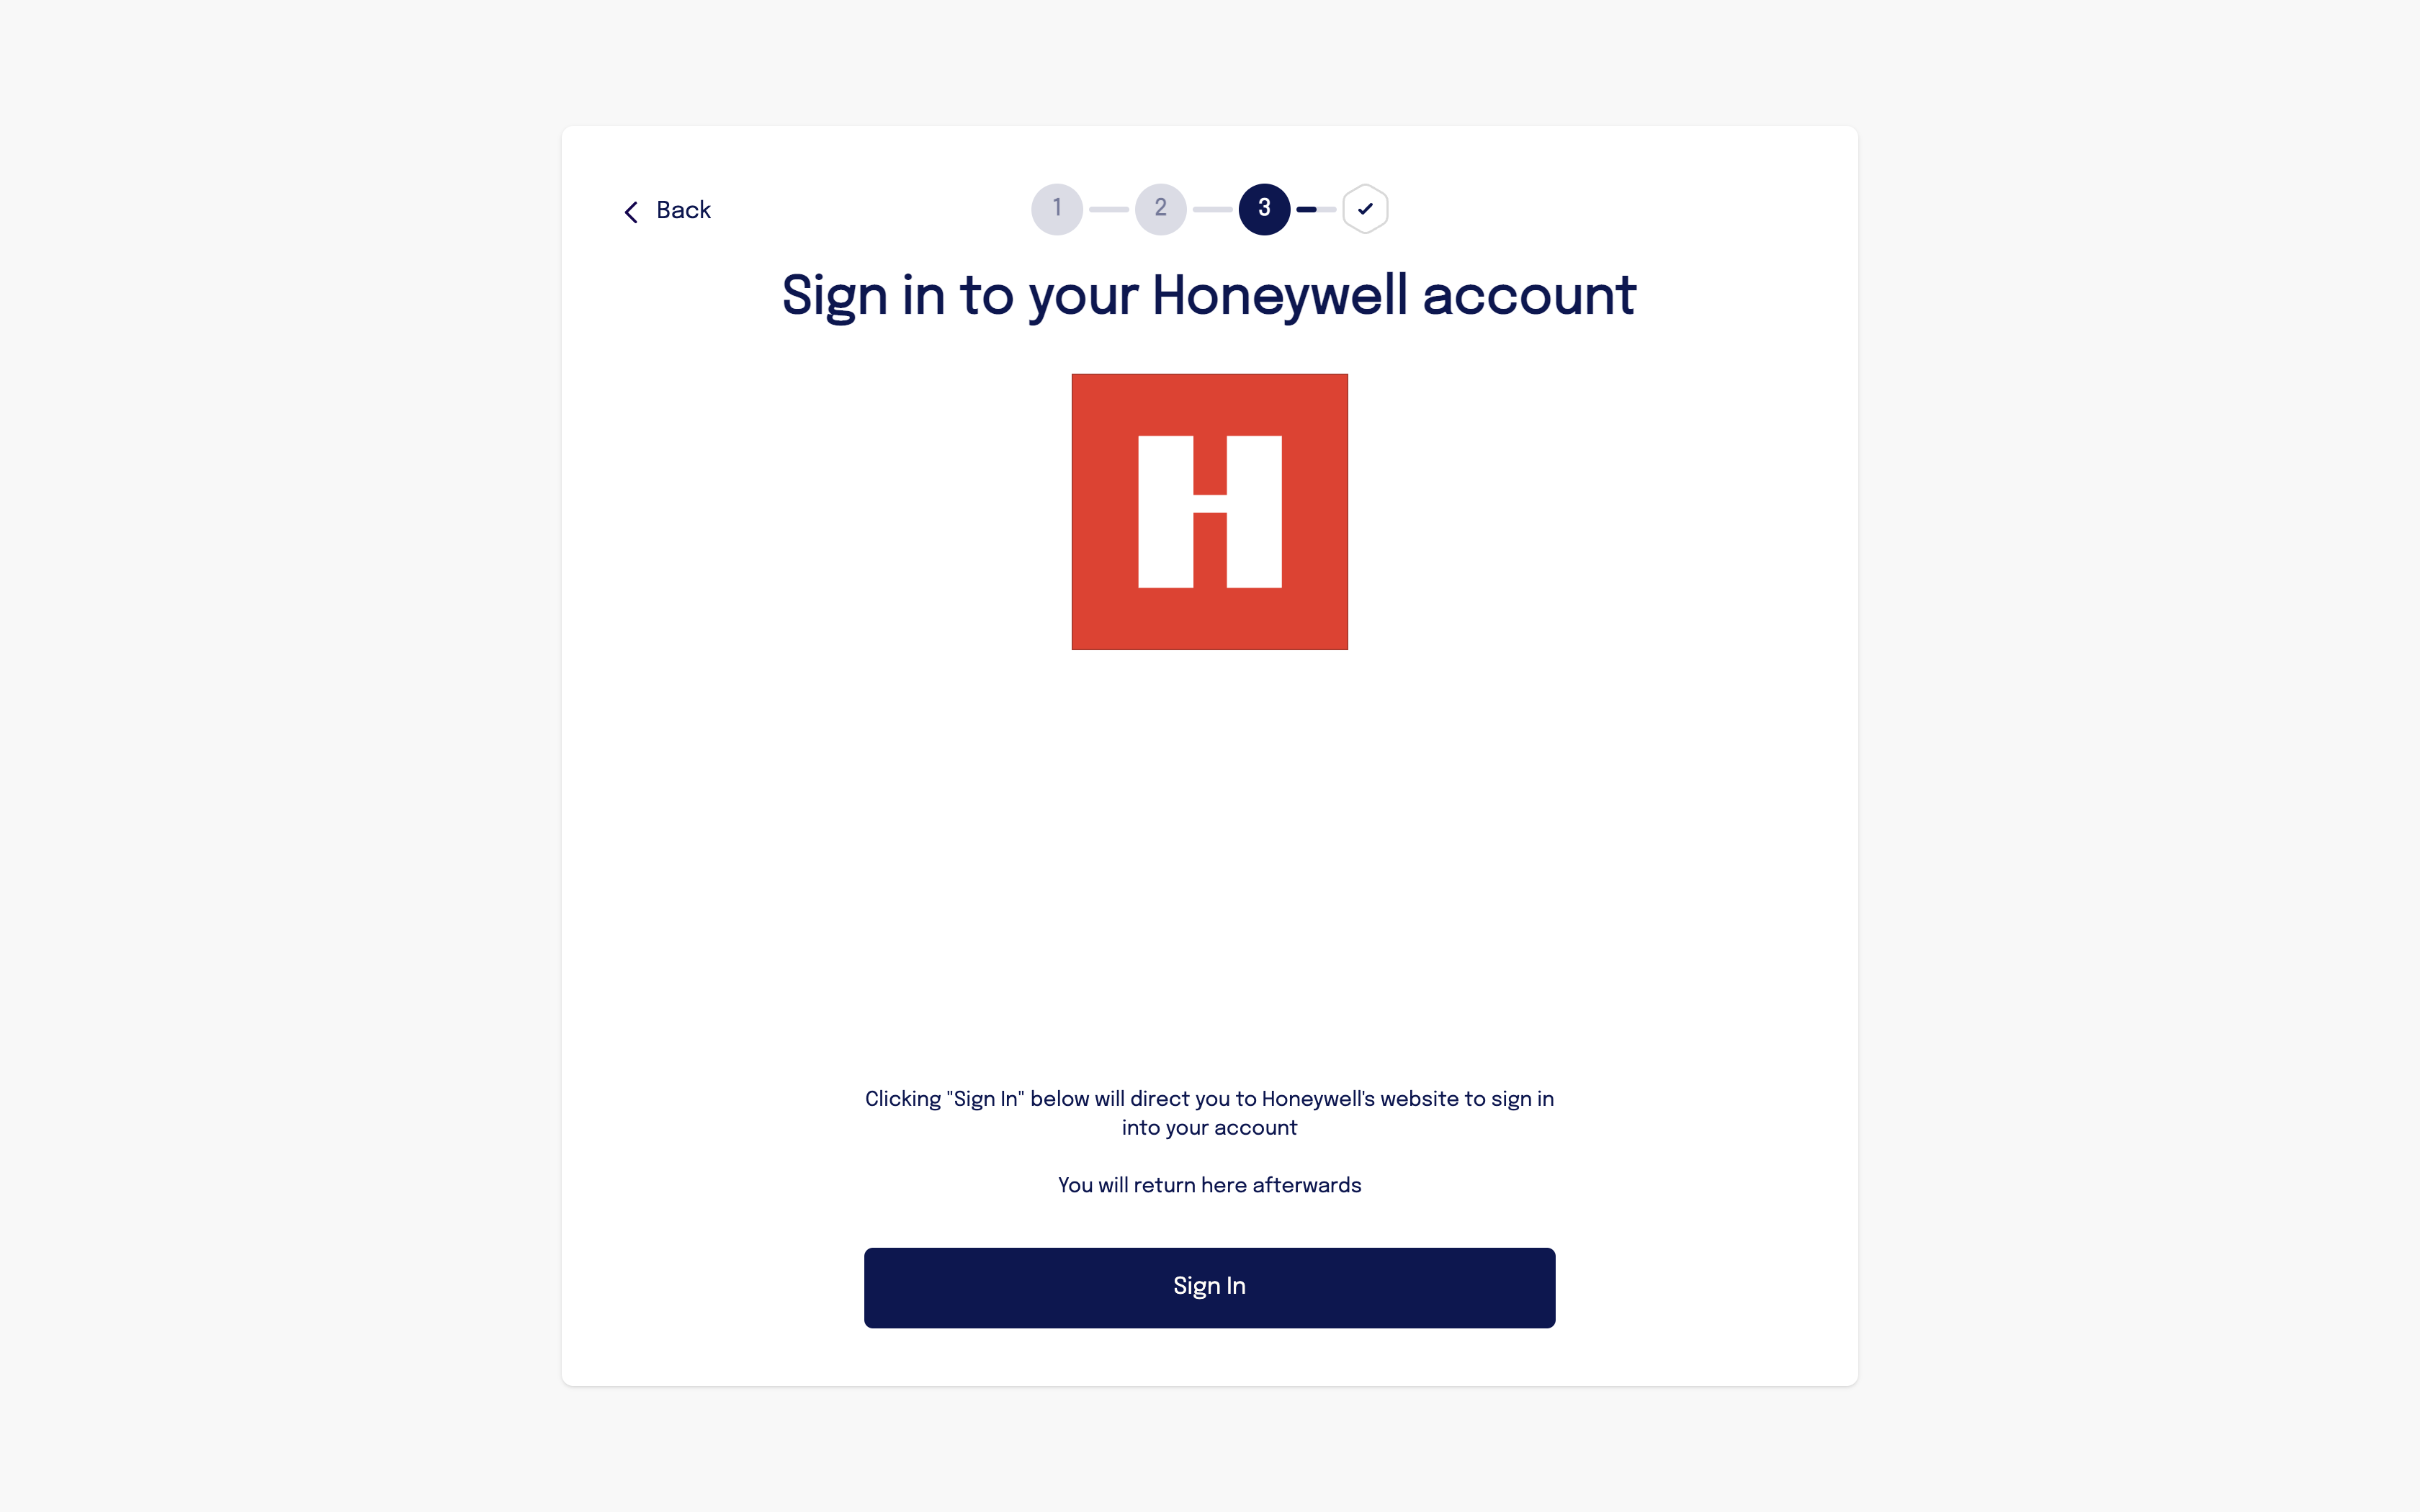
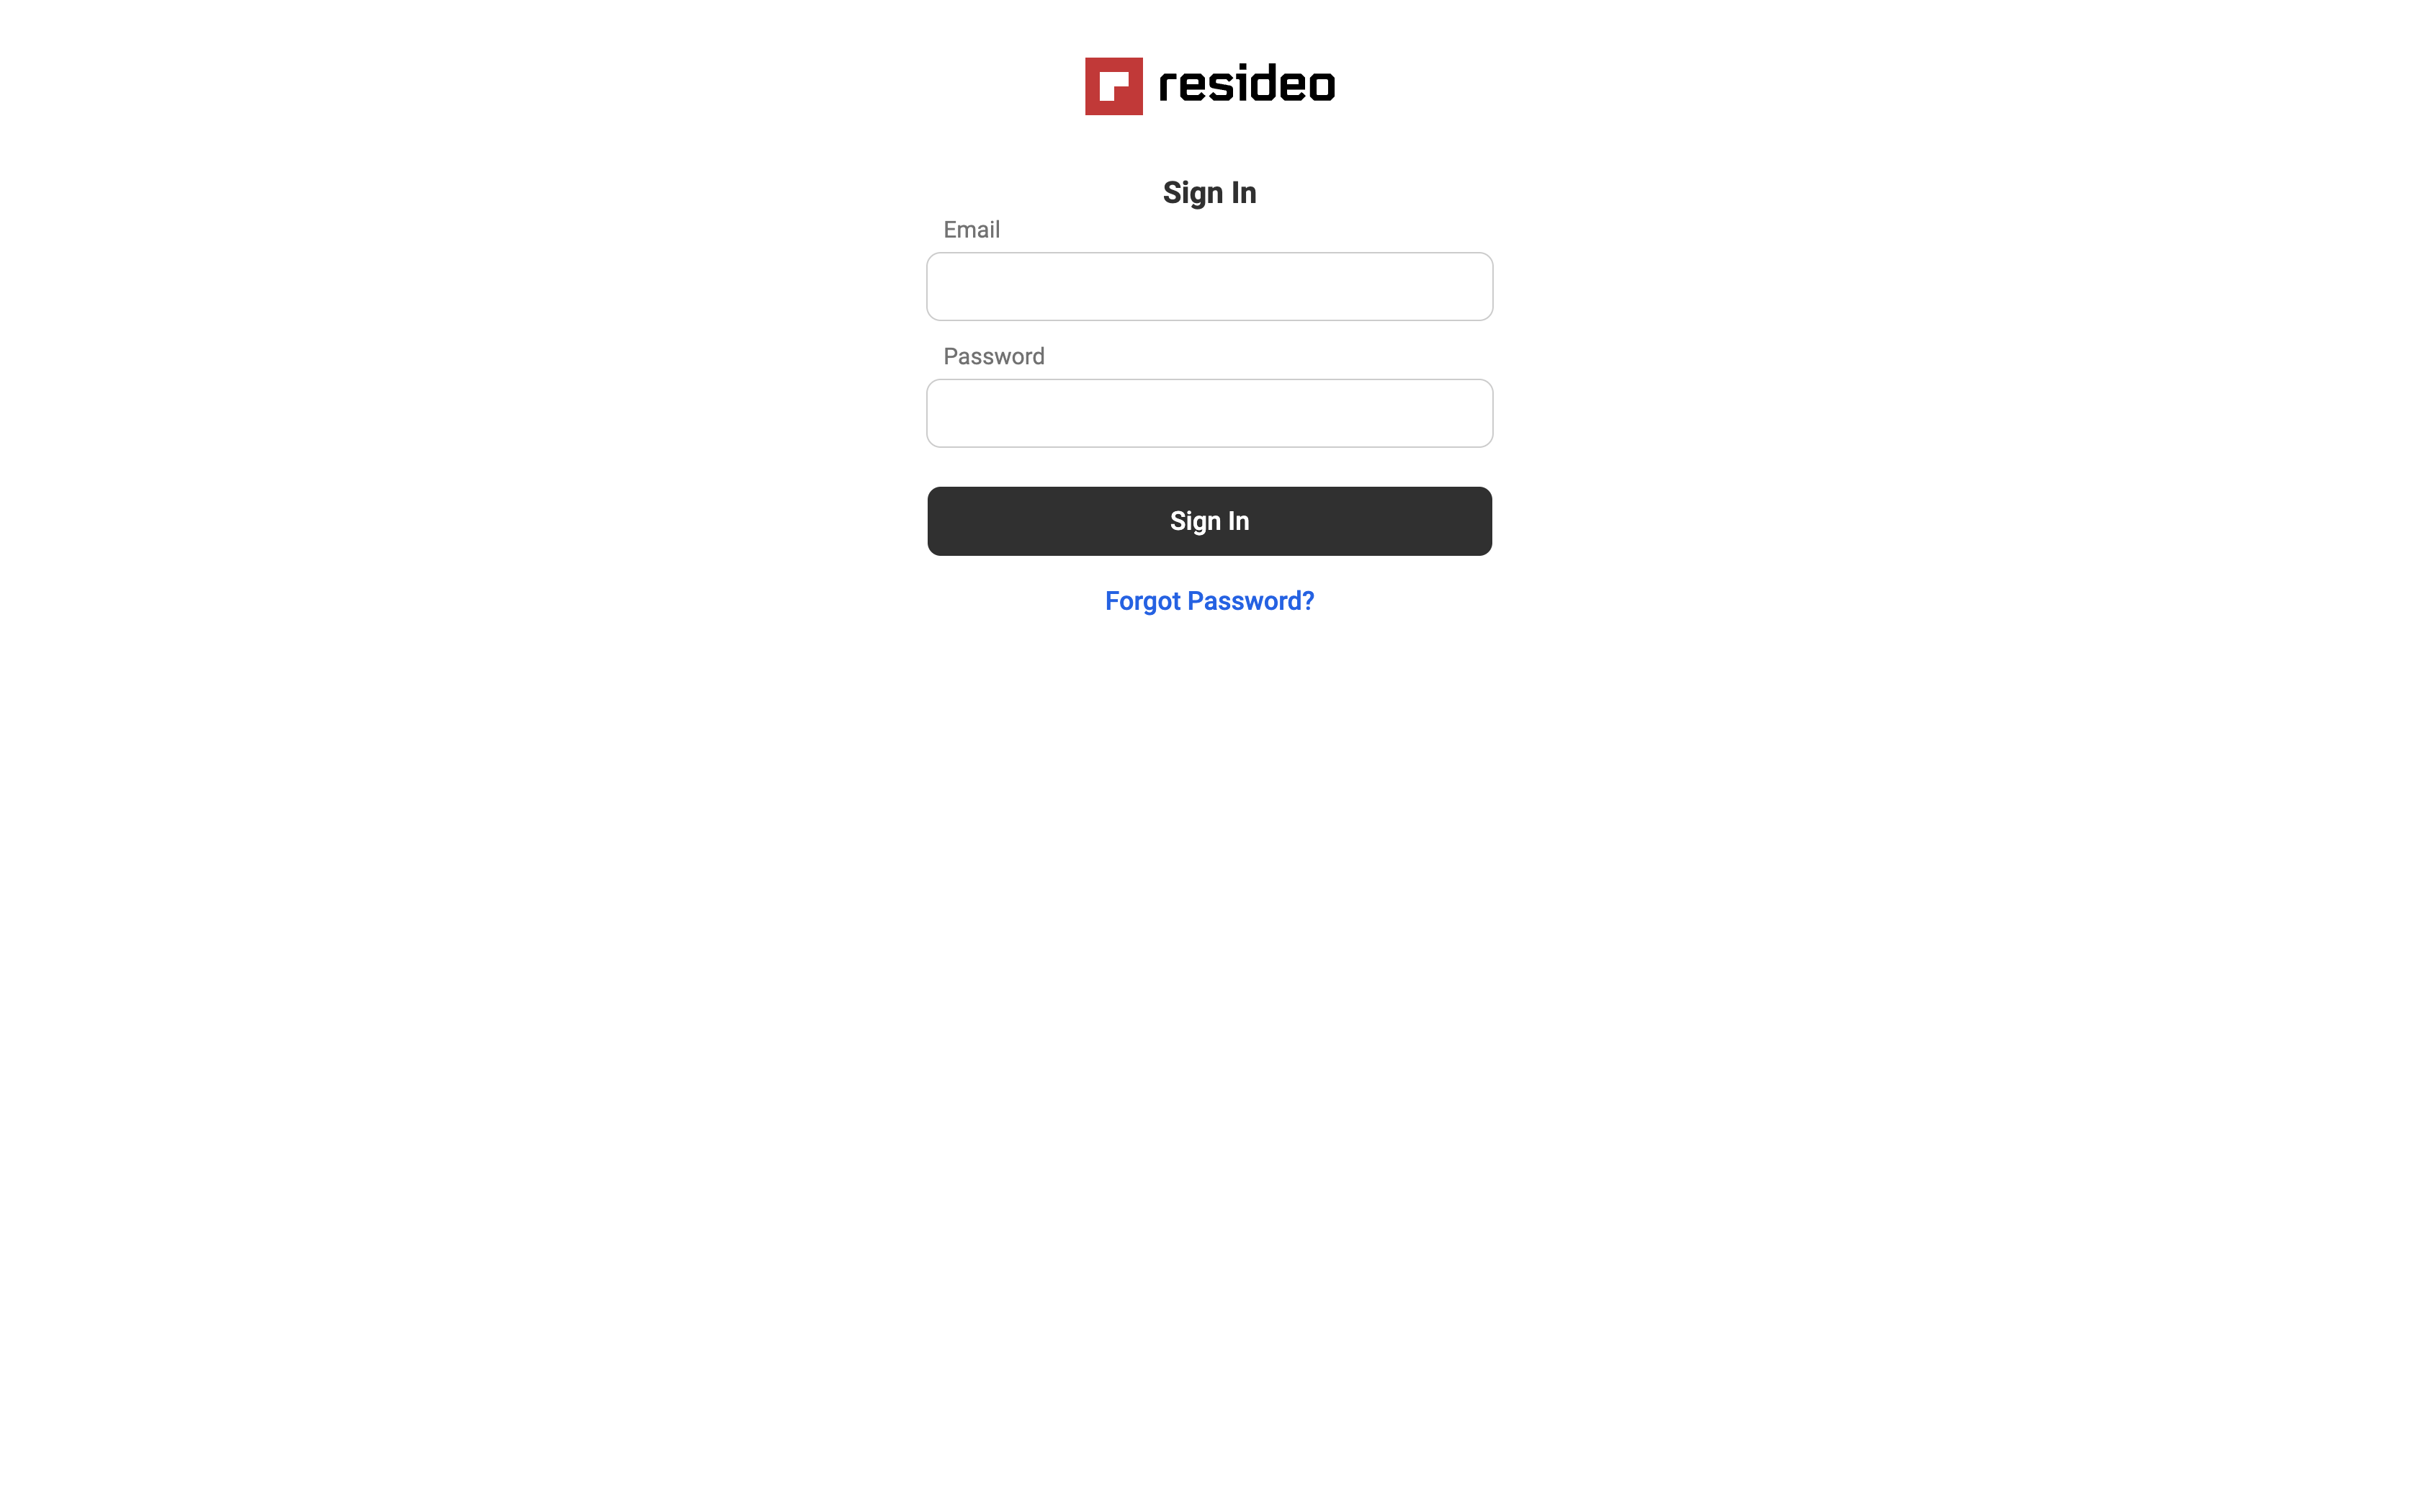
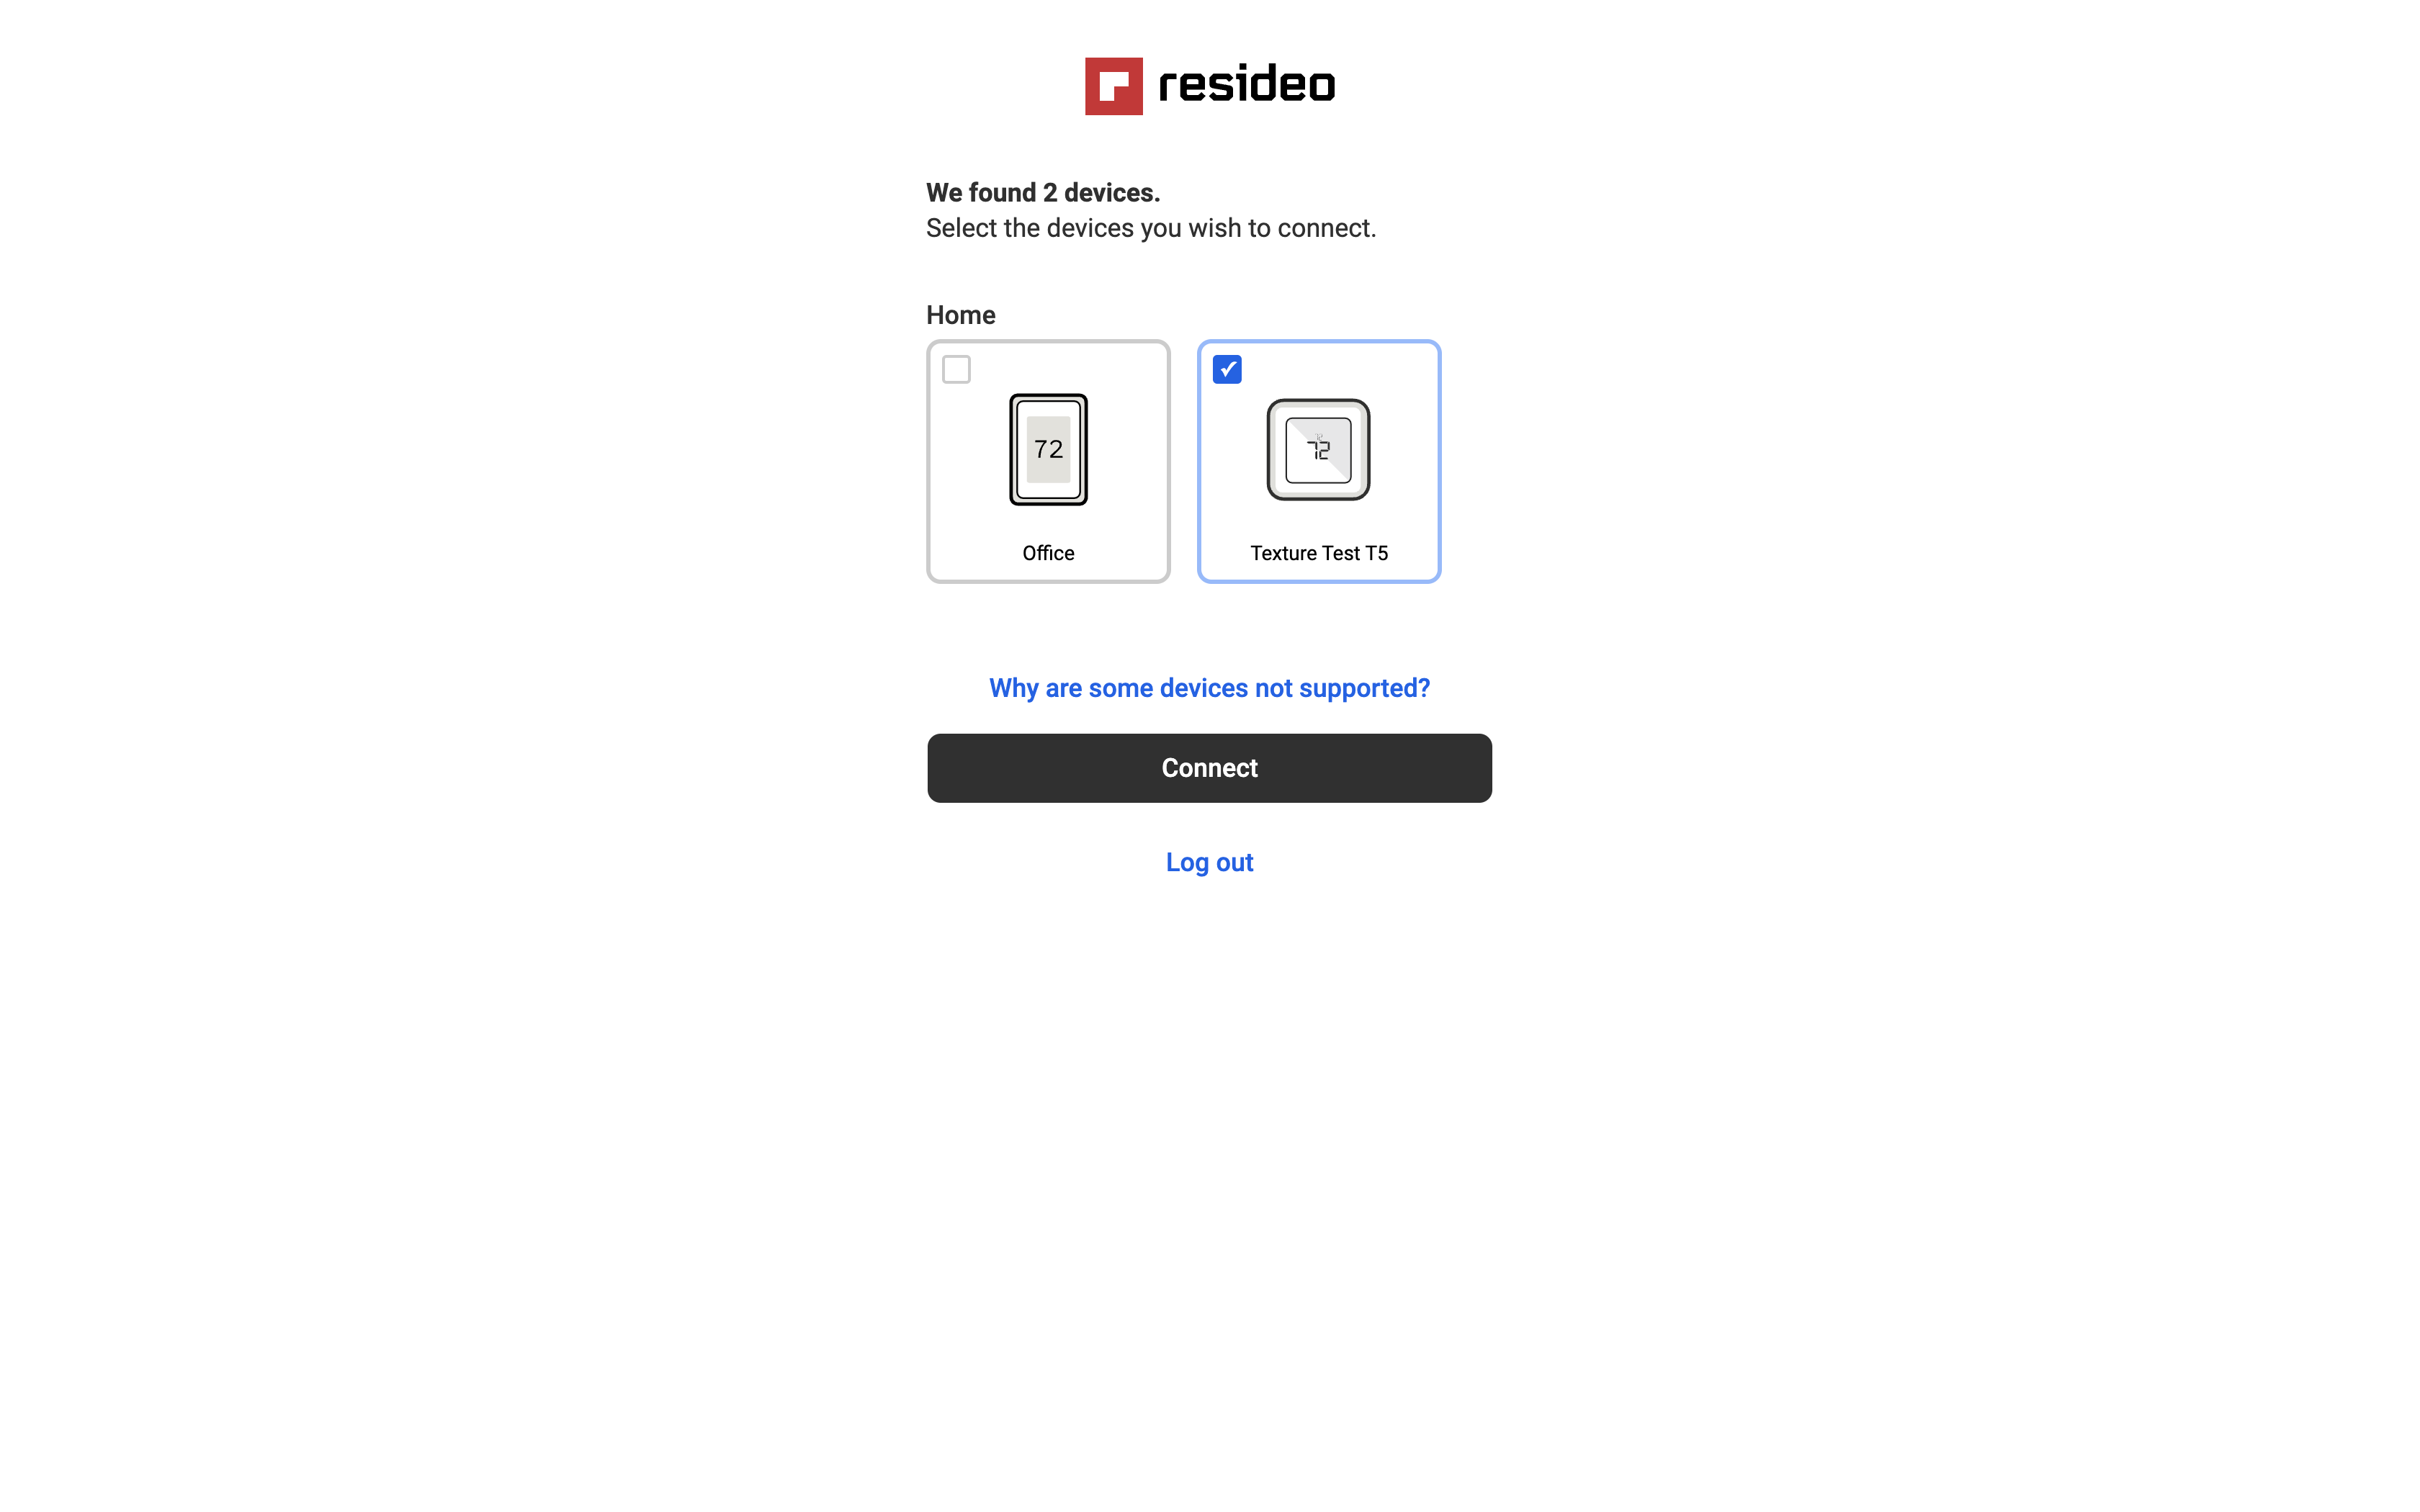
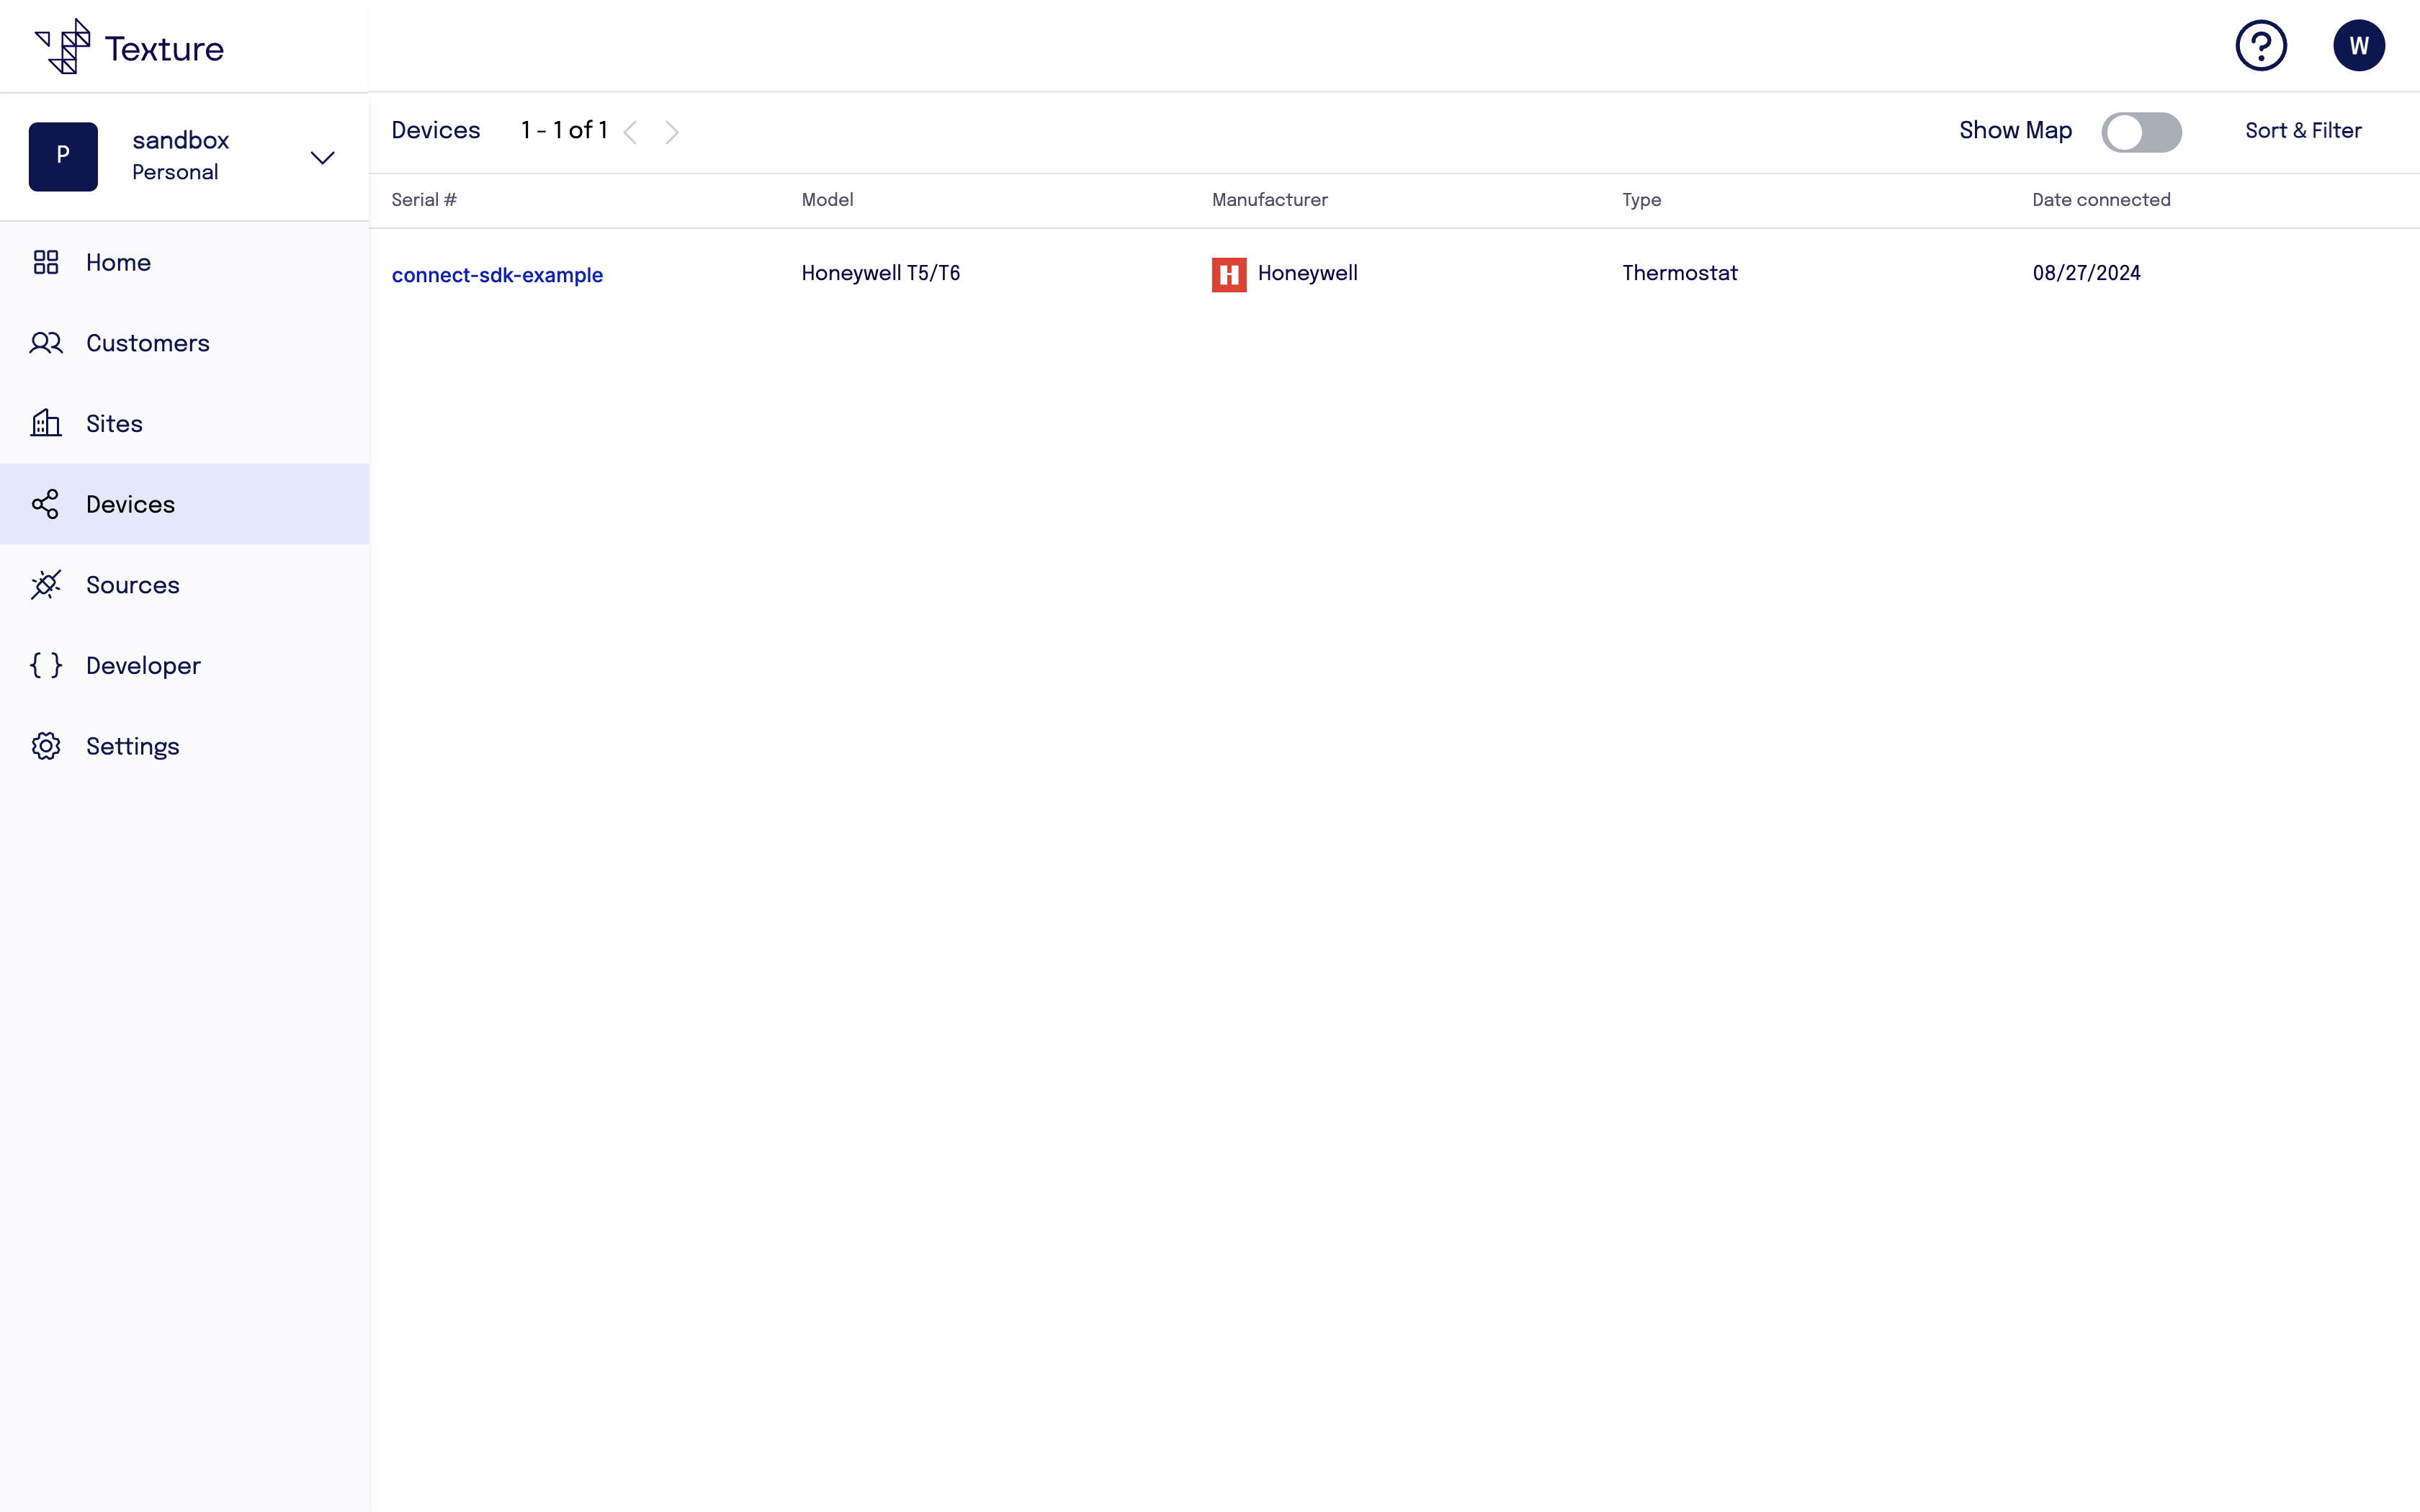
Device Set Up: The user selects their device manufacturer, signs into their account, and selects devices to connect.
Success: The user's device is set up! When they click continue they will be sent to the redirectUrl you provided.