Workspaces
Workspaces are a way to organize your projects and their resources.
Each workspace is its own encapsulated environment with its own API keys, Devices, Destinations, etc. This allows for the developer to have the flexibility they need to play, test, and integrate with the Texture Platform and API.
By default, Workspaces are shared with all Members of an Organization.
At the Enterprise level, we unlock the ability to create private Workspaces and more rich role-based access control.
Isolated Environment
By Isolated Environment, we mean that each Workspace has its own set of API keys, Devices, Destinations, etc.
This means that when you connect a Device to one Workspace, it is not available in another Workspace by design.
We want isolation to prevent developers from accidentally sending commands to a production device when they meant to send it to a device in their sandbox environment so this total isolation ensures that can never happen.
We have no way to "move" a Device from one Workspace to another, so if you want to achieve that today, you would have to connect the Device to the new Workspace and then delete it from the old Workspace.
Why Workspaces?
At Texture, we set out to create a best-in-class developer platform.
We believe that Workspaces are a key part of that so that you can ensure that your development, staging, and production environments are separate and secure.
There is nothing worse than accidentally sending a command to a production device when you meant to send it to a device in your sandbox environment. Workspaces help prevent that.
Default Workspaces
When you create an Organization, you are automatically given two default Workspaces.
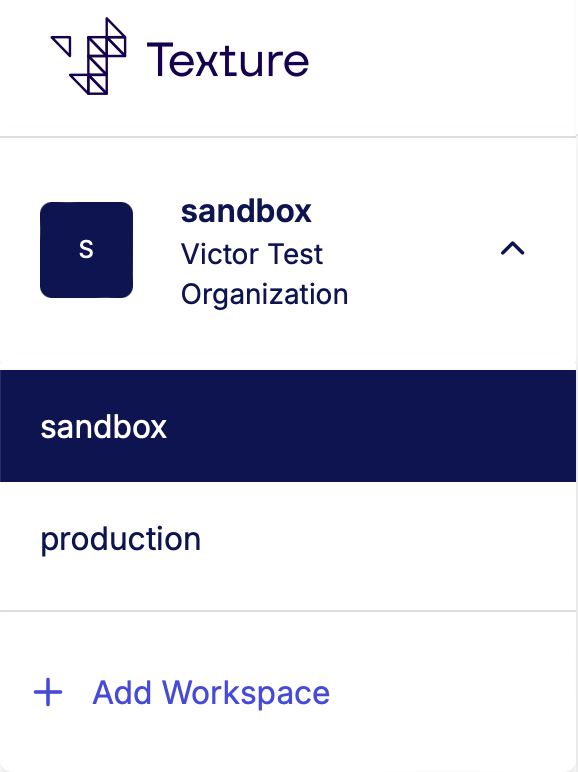
We create one called production and another called sandbox for you. This helps you get started quickly and will accommodate most basic use cases out of the box.
Creating a Workspace
To create a new Workspace, open the Workspace dropdown in the top left corner of the Texture Dashboard and click the "Add Workspace" button. You will be prompted to name your Workspace.
You can also navigate to Settings > Organization > Workspaces and click the "Create Workspace" button.
You can give your Workspace any name you'd like as long as it is unique within your Organization.
We do not enforce any constraints on how many Workspaces you can create. We understand that each team has different needs and we want to support that. Some create Workspaces for each developer, others for each environment, and others for each project. We don't know how you'll use the Texture Platform so we want to give you the flexibility to use it as you see fit.
Changing your Workspace
You can change your Workspace at any time by using the dropdown in the top left corner of the Texture Dashboard.
This will allow you to switch between Workspaces and see the resources that are available in each.
As you switch between Workspaces, you will see the resources that are available in each update. So if you are viewing the Network tab and switch to a different Workspace, you will see the Energy Devices that are available in that Workspace. Same goes for API Keys and anything else that is Workspace specific.
When you change an Organization or Workspace, we will remember it for you and keep you in that Workspace until you change it again.